
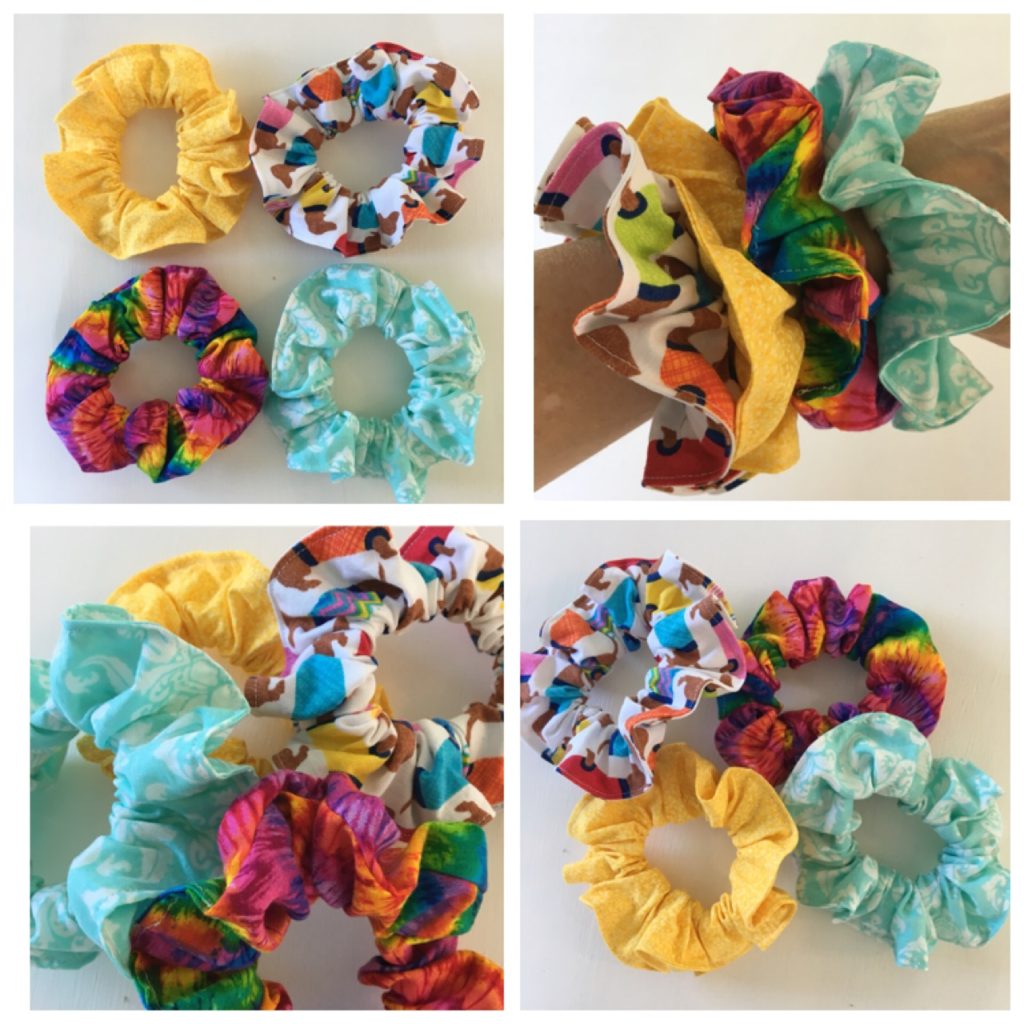
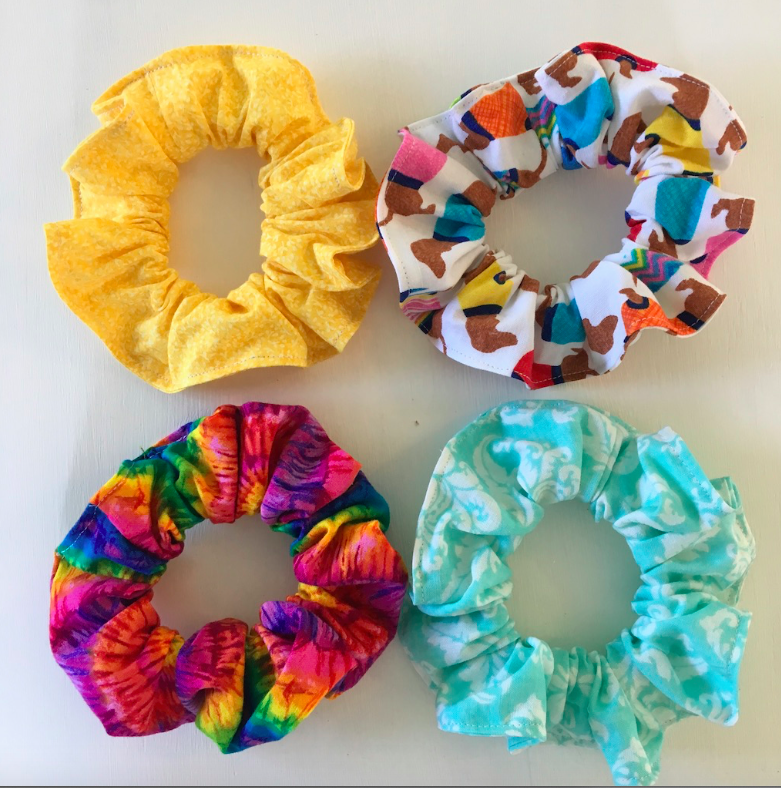
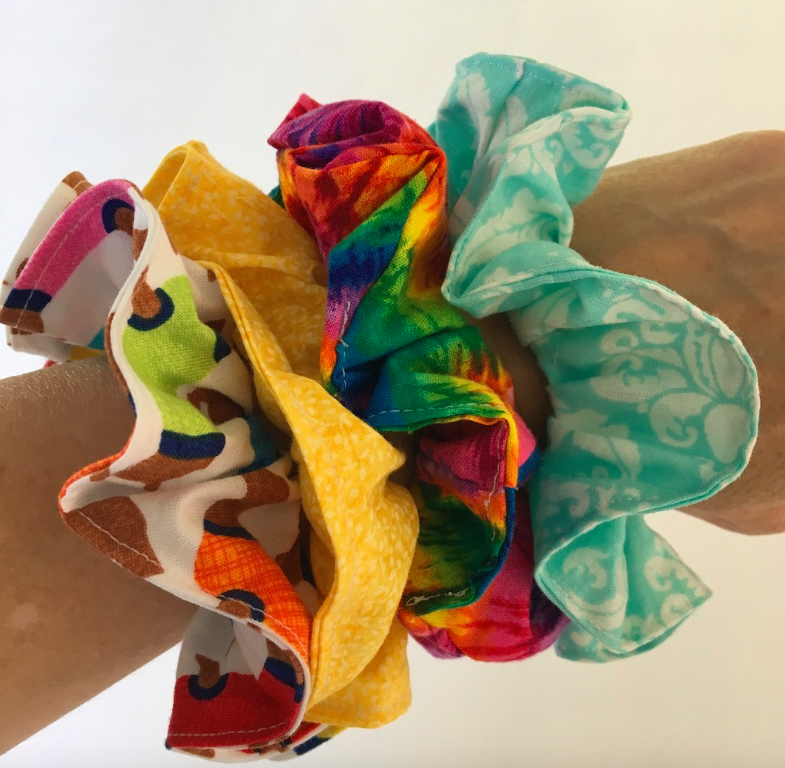
Materials:
- Strips of fabric, 4” x 26” (cotton, flannel, or knits will work but for beginner sewers I usually stick with cotton)
- ½” elastic, 8” per scrunchie
- Safety pins
- Sewing Machine
- All Purpose thread
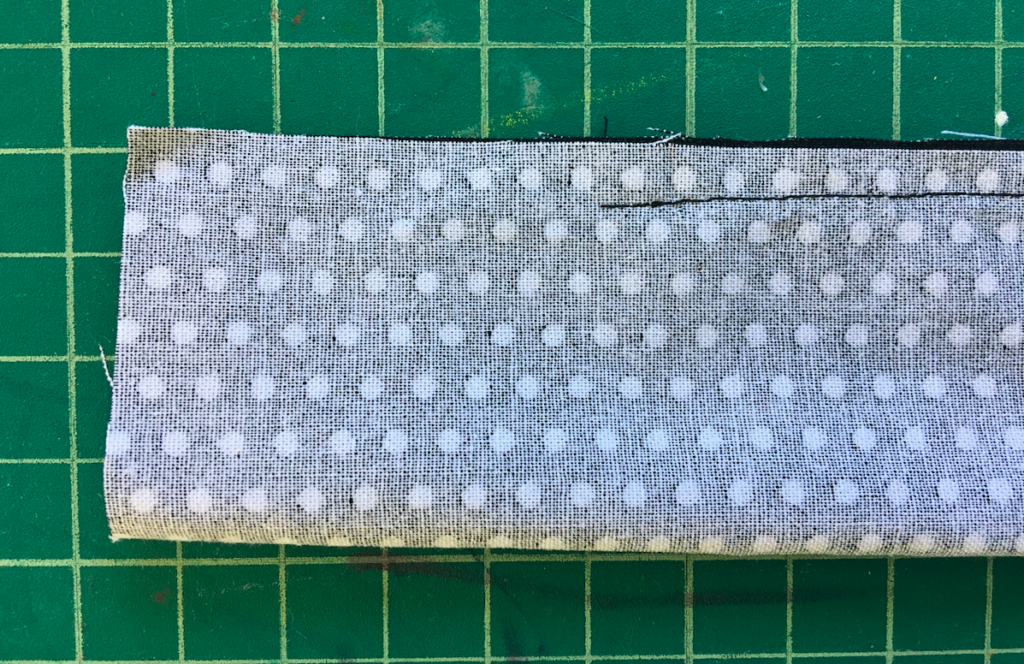
STEP 1: Cut fabric and elastic according to measurements above.
STEP 2: Fold fabric in half, length-wise, right sides together and pin

STEP 3: Starting and ending about two inches from the ends, sew (using a ¼” seam allowance) along the long edge of the fabric. Use a safety pin to turn right-side-out.
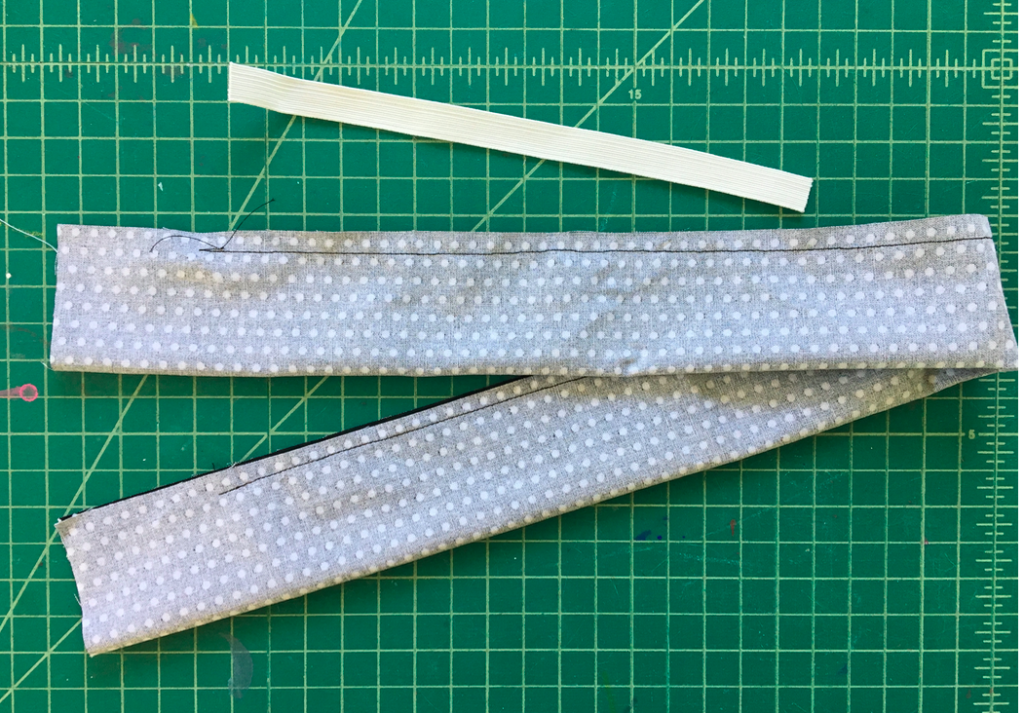
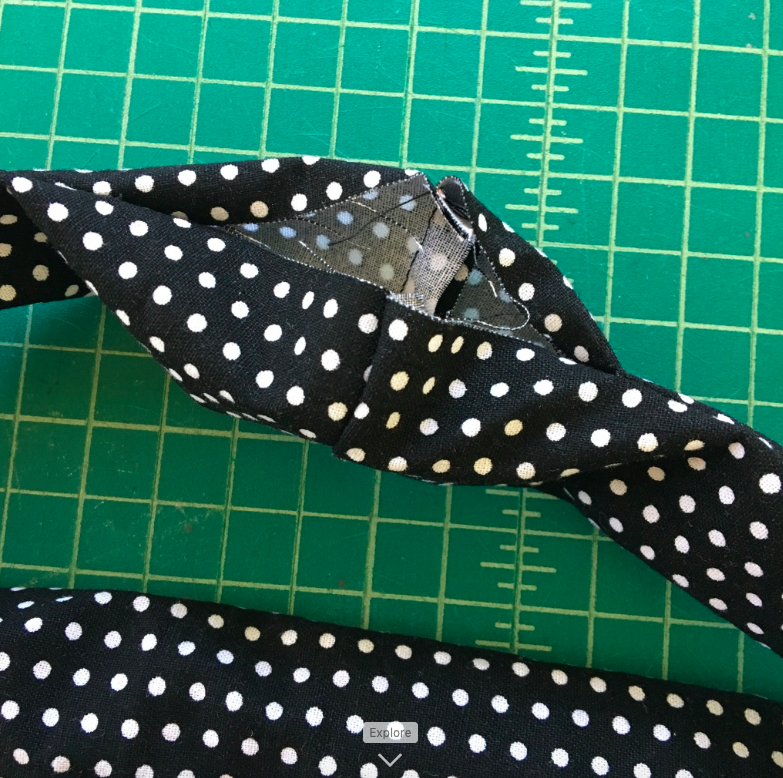
STEP 4: Match up the short ends of the fabric, right sides together, pin and sew.
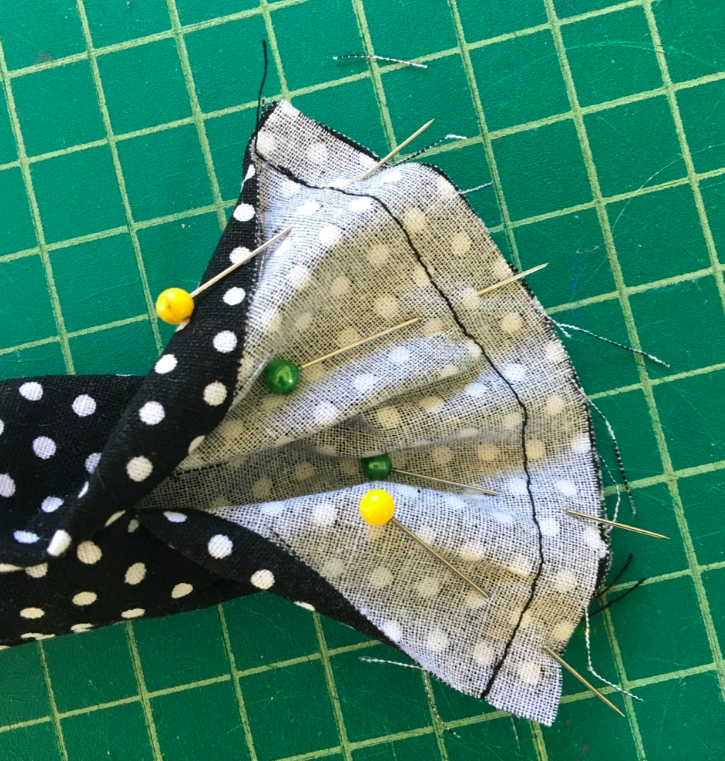
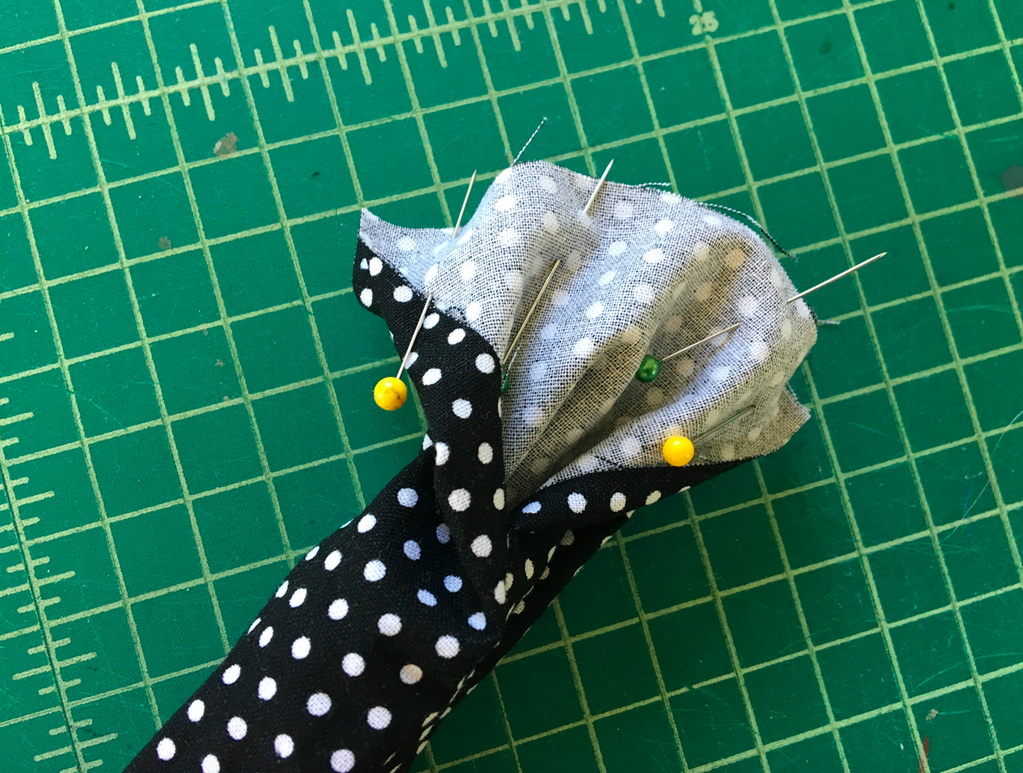
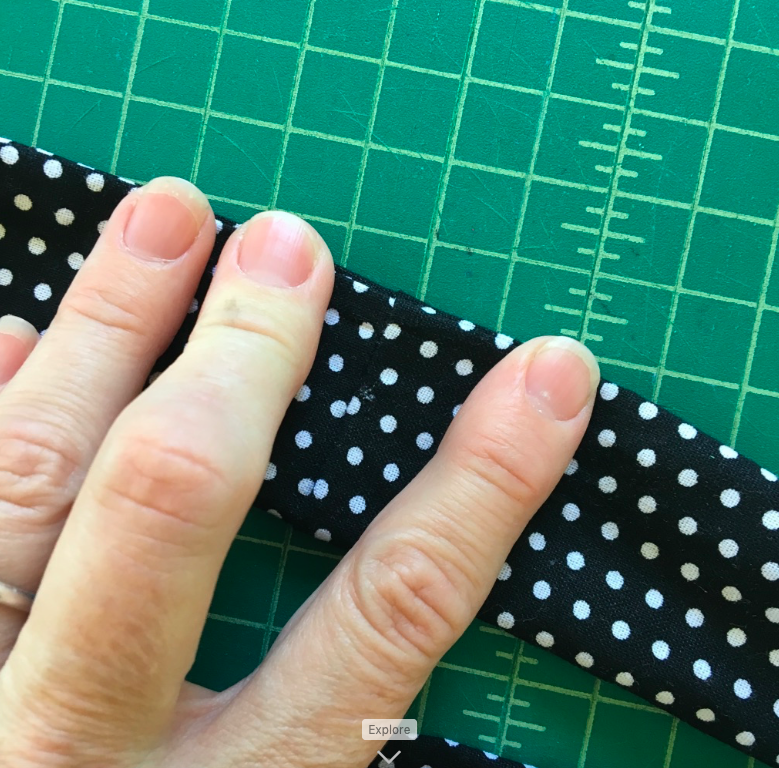
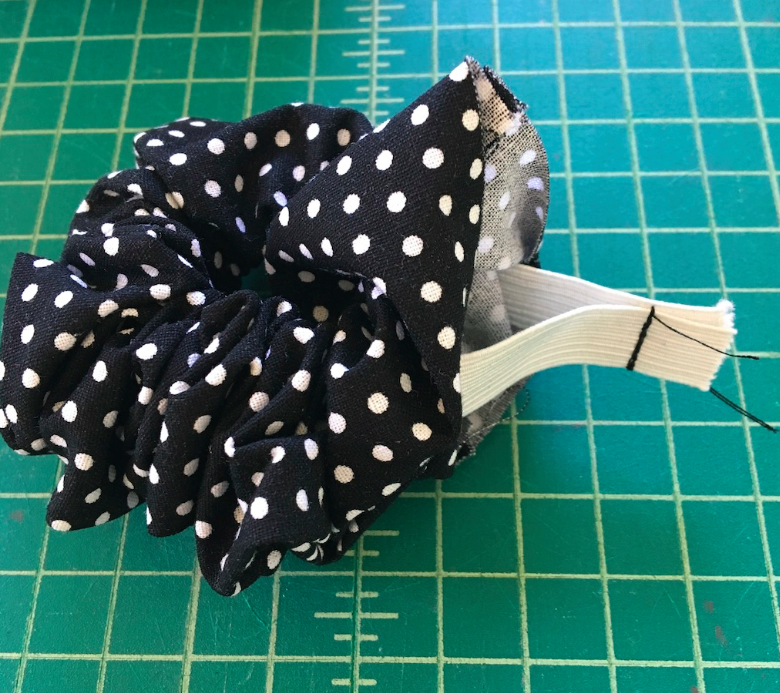
STEP 5: You have a loop now with about a 3-4” opening on the outside of the scrunchie. Fold in unsewn edges ¼” and finger press opening.
STEP 6: Using a safety pin, pin one end of elastic to one side of the opening (this keeps the end of the elastic from accidentally getting pulled into the fabric tube). Then, use a second safety pin on the other end of the elastic to feed it through the fabric tube.
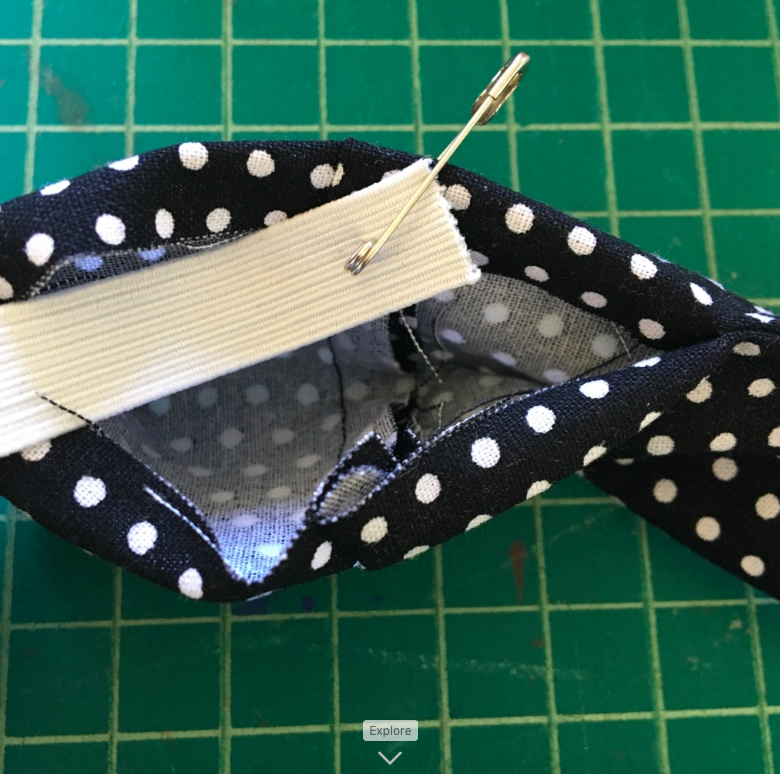
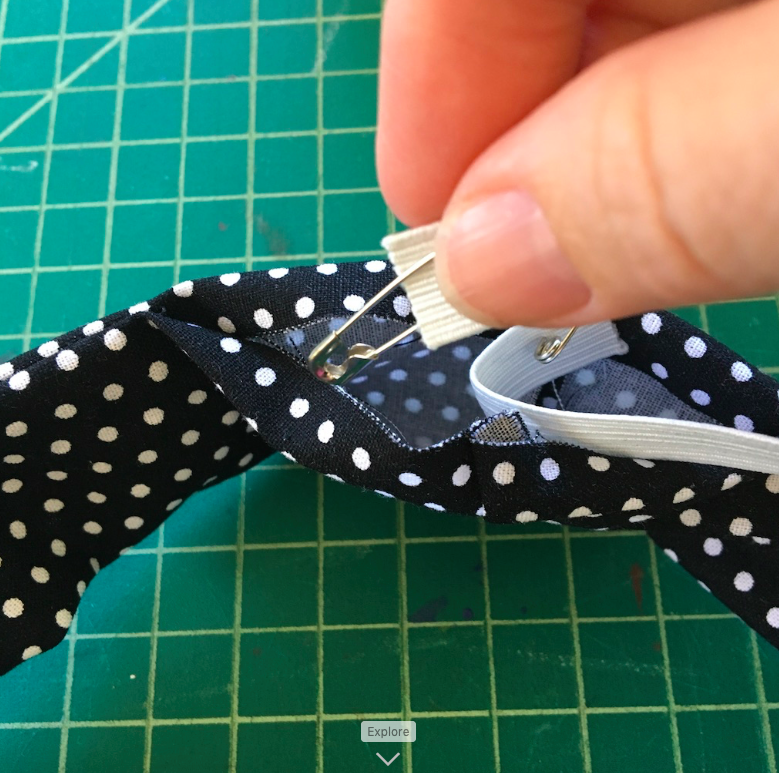
STEP 7: Put two ends of elastic together and sew about ½” from the end. Back stitch and repeat for a secure hold.
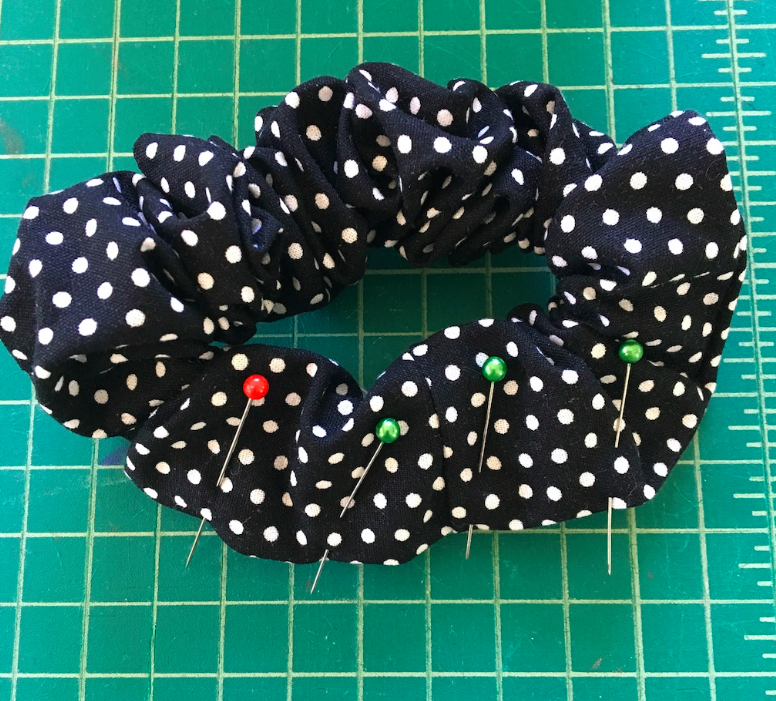
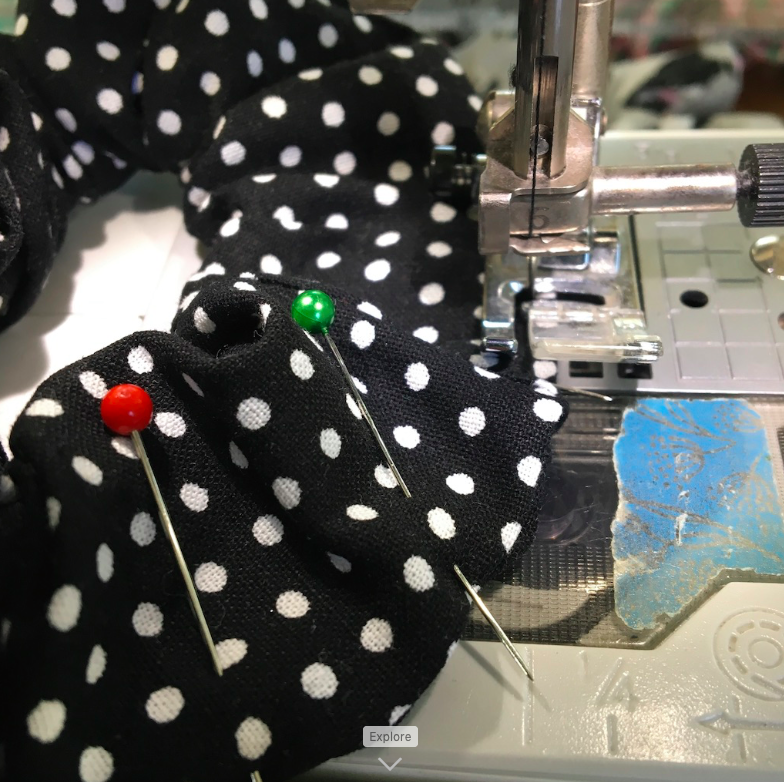
STEP 8: Pin opening closed and top stitch closed 1/8” from the edge. Its up to you weather you want to top stitch all the way around (which can be a little tricky if you are a beginner) or just stitch the opening closed.
Click here for a PDF version of the tutorial.