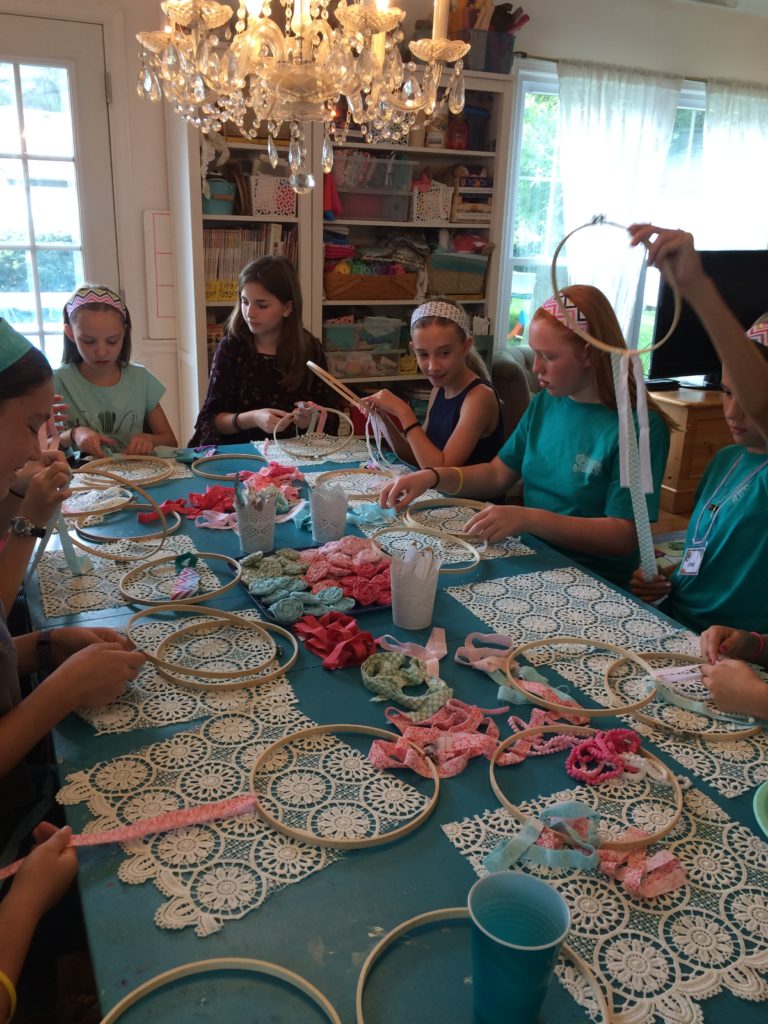
Today I had the privilege of hosting these amazing girls for an afternoon of crafting and celebrating Tallulah’s 12th birthday! The girls loved making these dream catcher, so I thought I would share how we did it.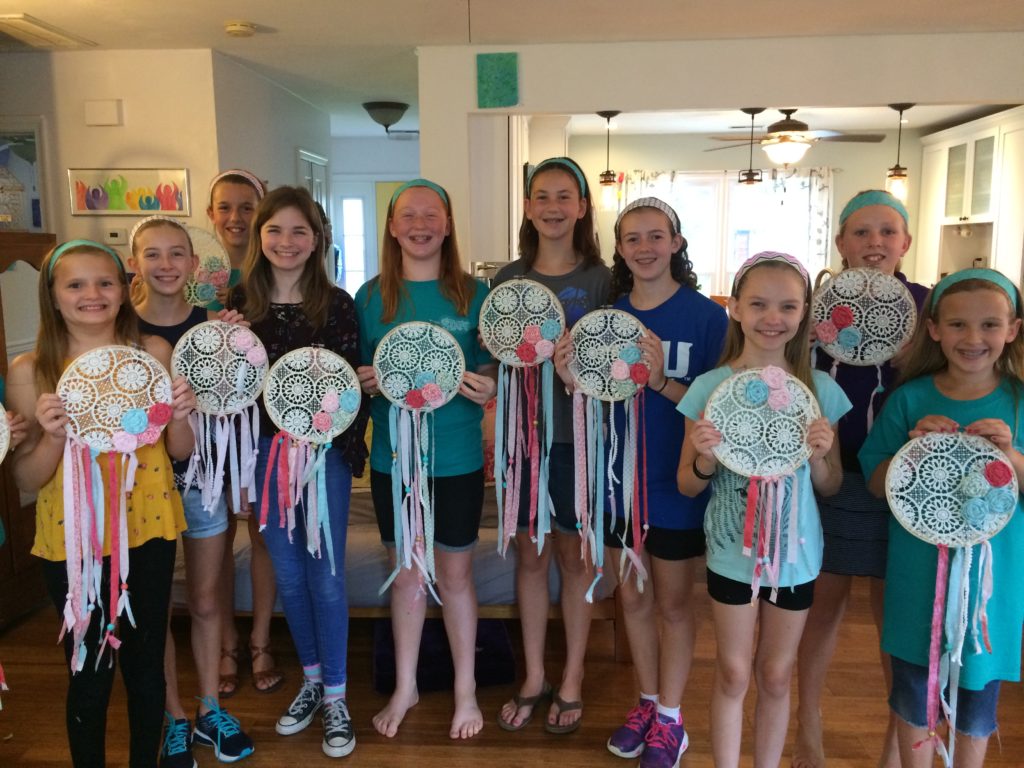

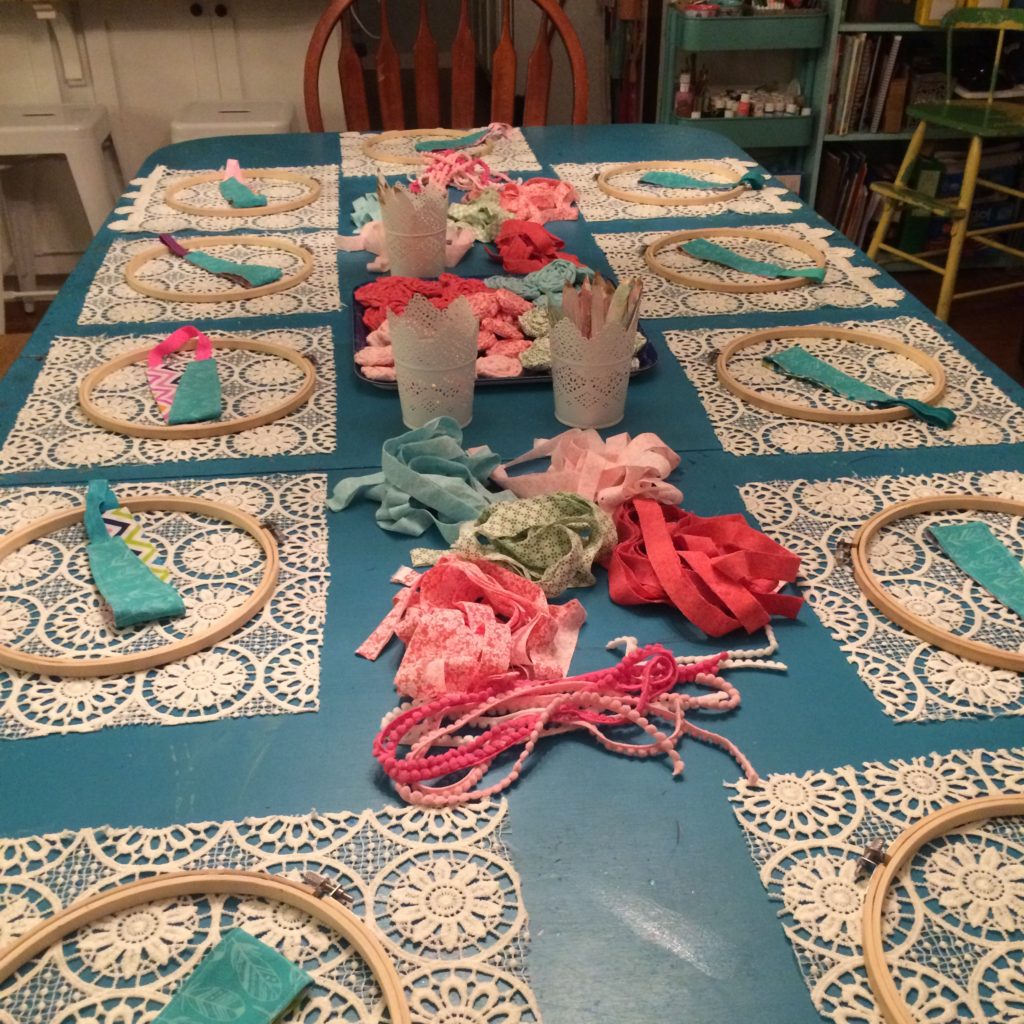
Materials:
- Wooden embroidery hoop
- Doily or lace
- Strips of fabric 40″ x 3/4″
- Wooden beads (we hand-painted the beads and feathers to coordinate with our fabric)
- Feathers
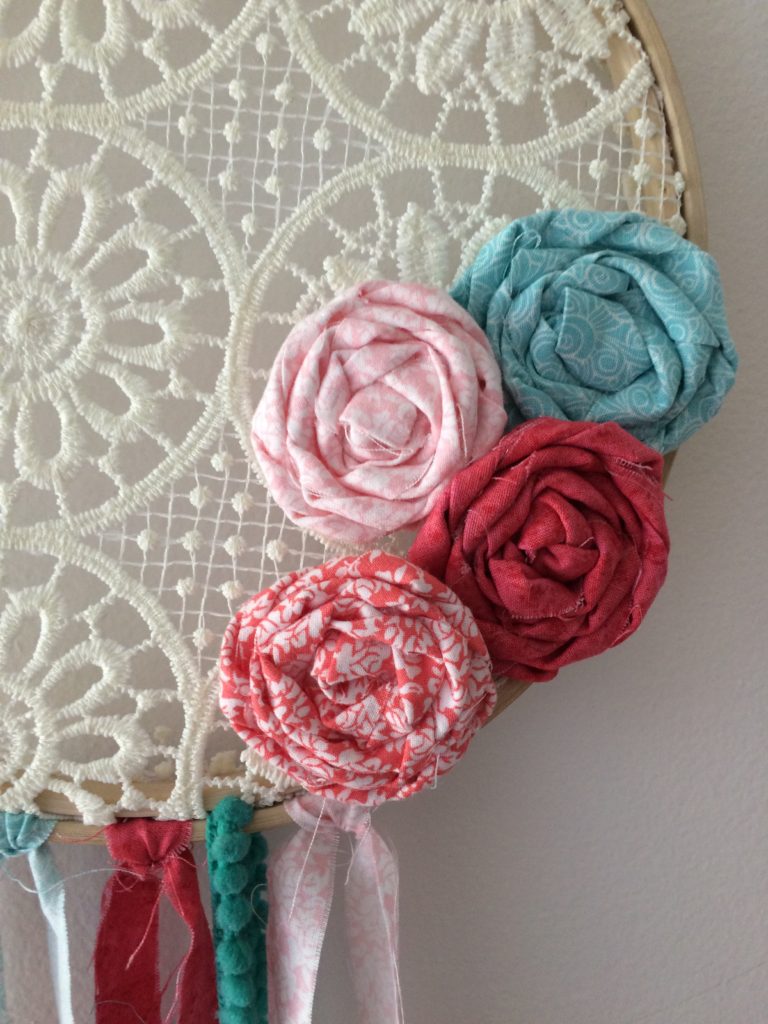
- Fabric rosettes (Craftaholics Anonymous has a great tutorial; I cut my fabric strips 2″ instead of 3″ for the rosettes)
- Hot glue gun and glue sticks
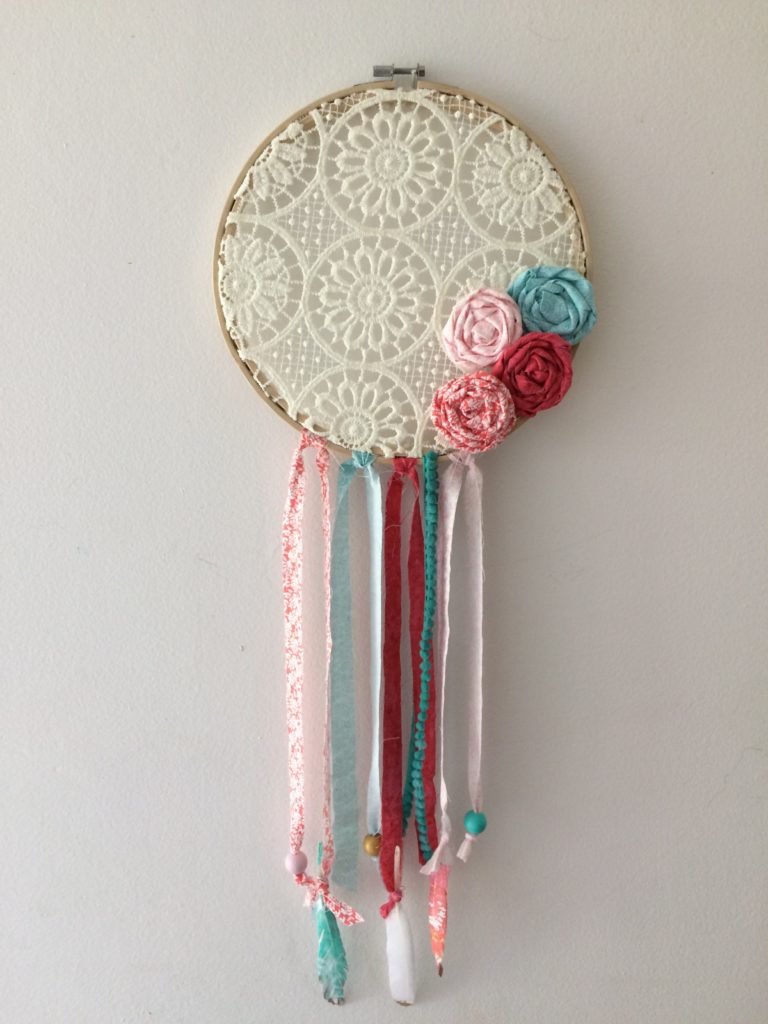
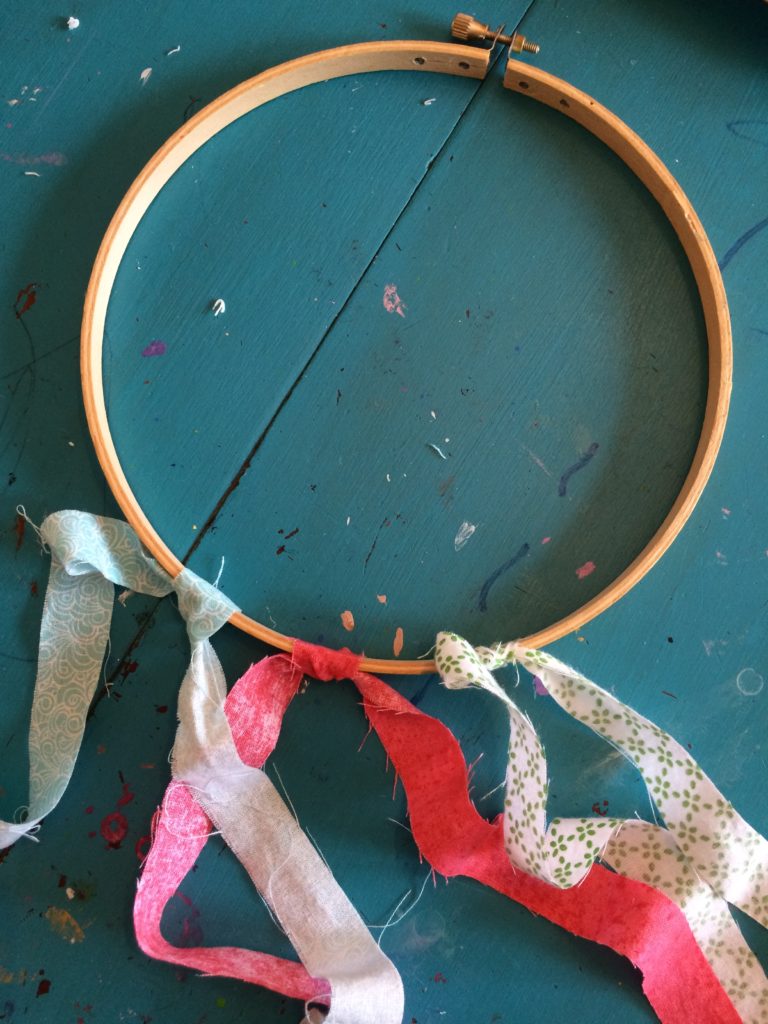
Start by taking the embroidery hoop apart and tying the strips of fabric across the bottom of the outer hoop.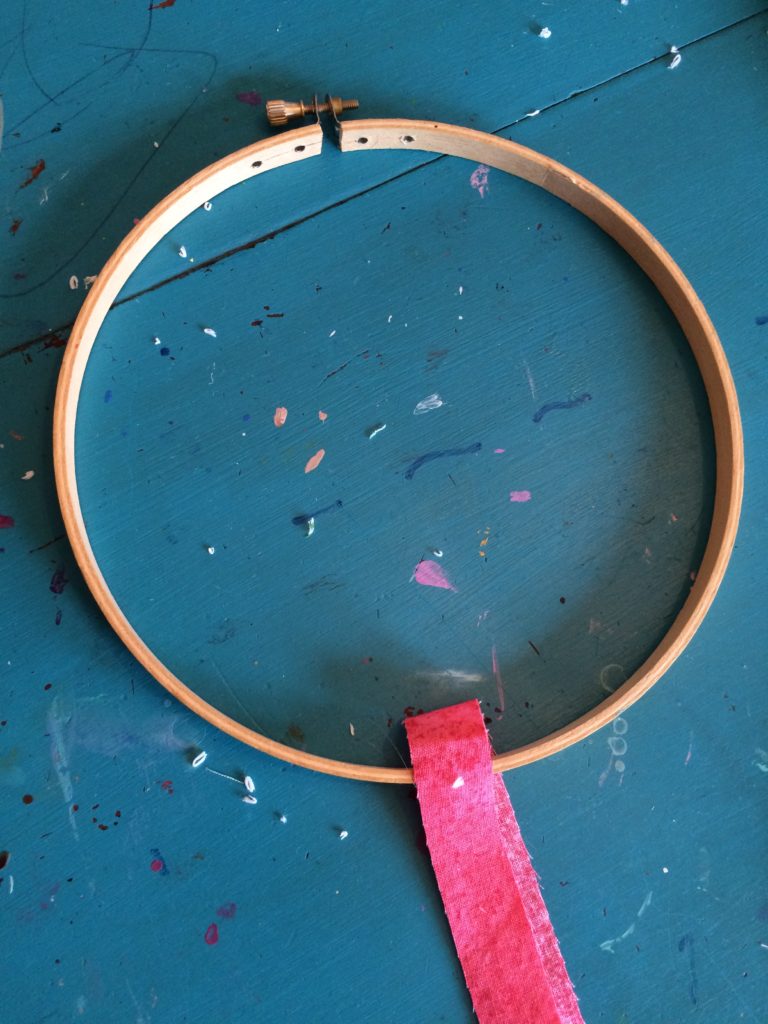
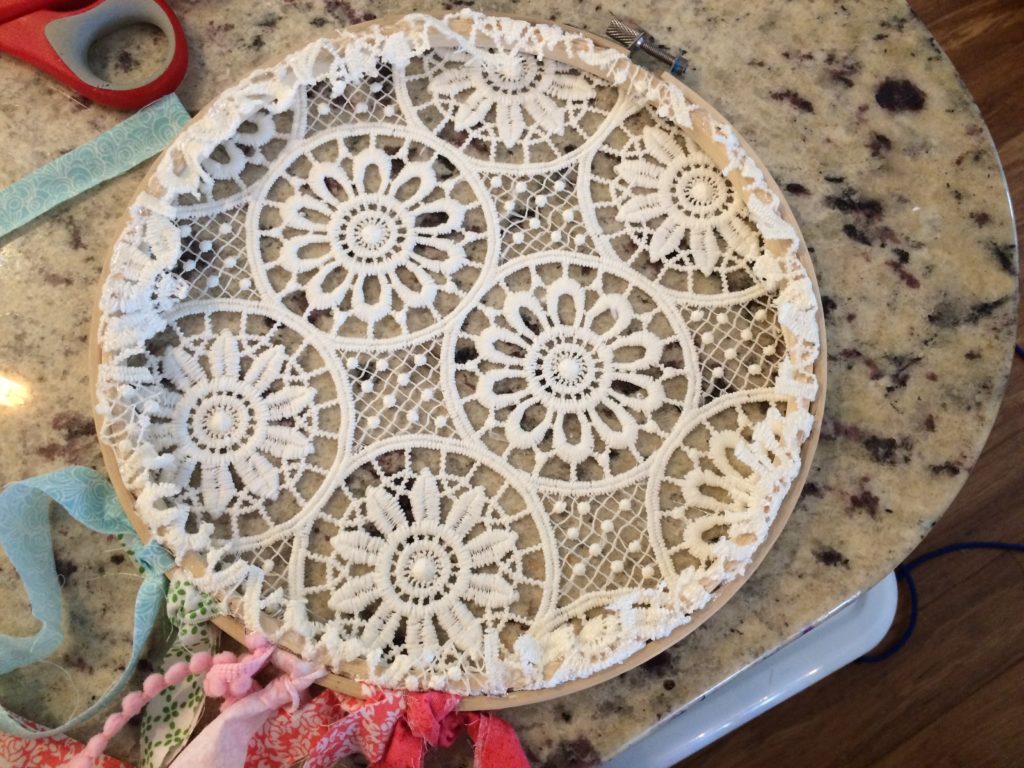
Next, sandwich the lace between the hoops and tighten the screw at the top.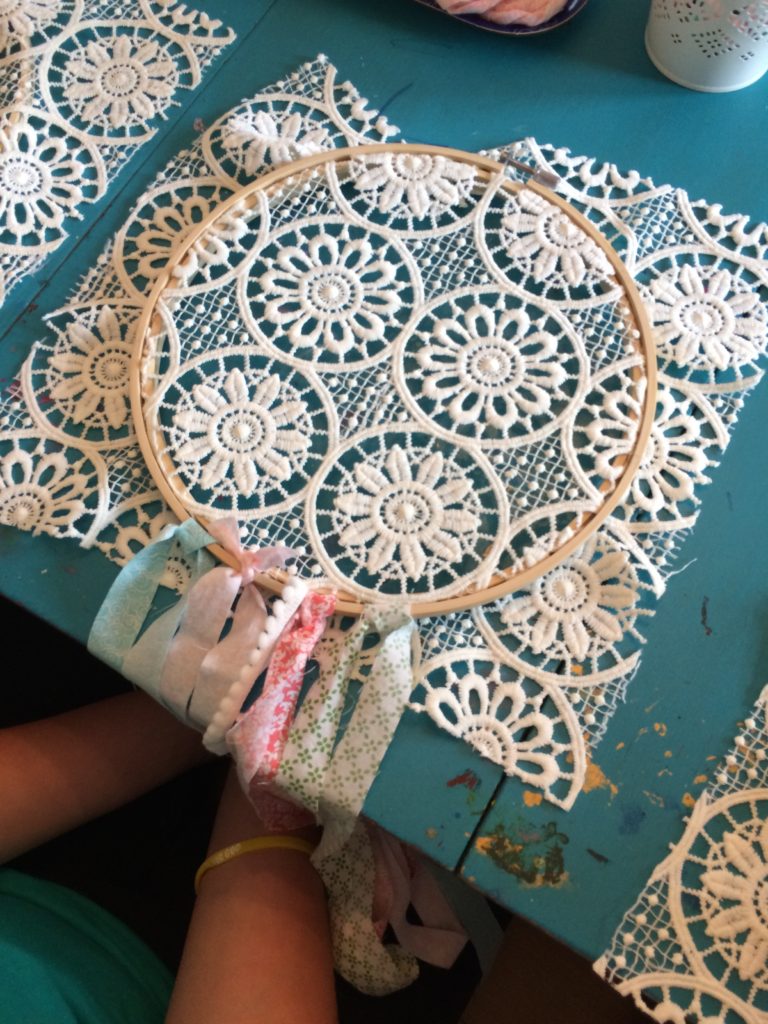
Flip over the hoop and trim the excess lace away, leaving about 1/2″ of lace that can then be glued down with a hot glue gun to help secure it in place. I used the edge of my scissors to push the lace down into the glue so I would not burn my fingers.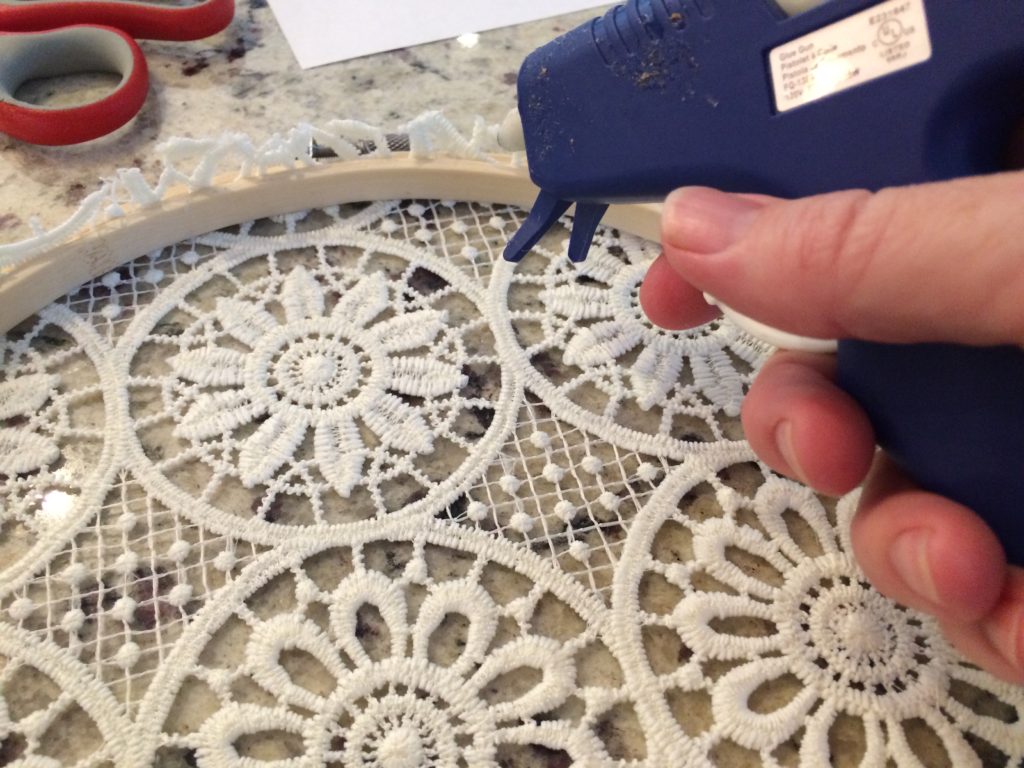
You can use a skewer or the end of the feather to push the fabric through the beads. Decide where you want the bead on the fabric strip, and tie a knot just below the bead to secure it.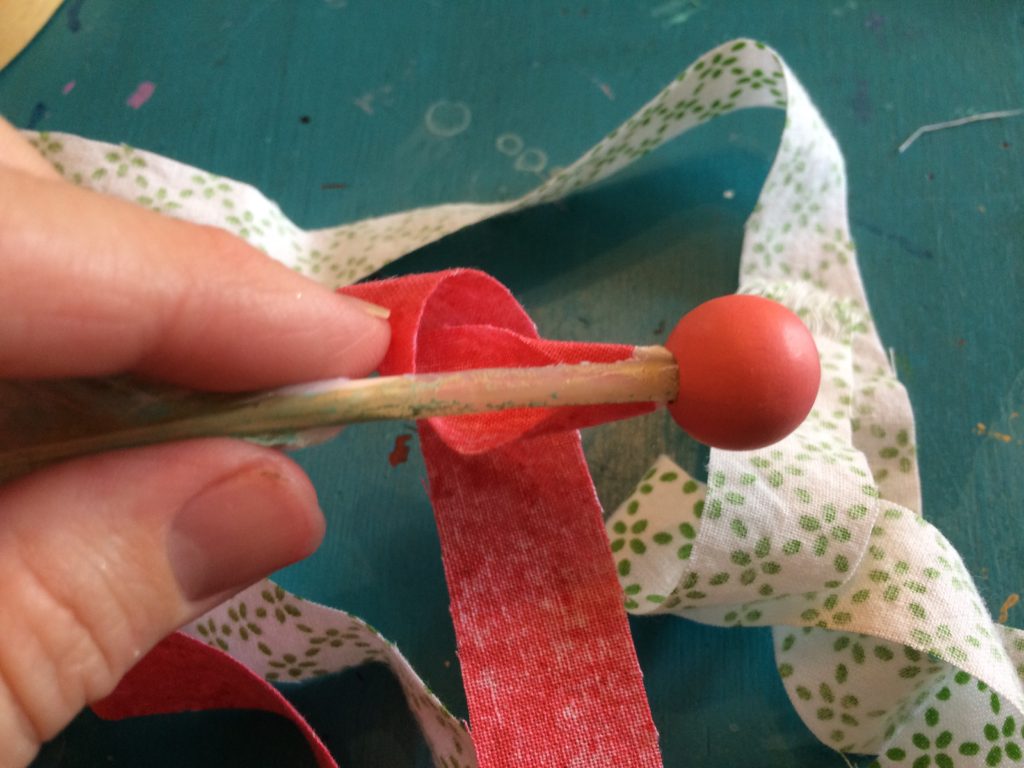
If you stick your feather through the bead and then tie the knot, it will help the feather to hang straight.
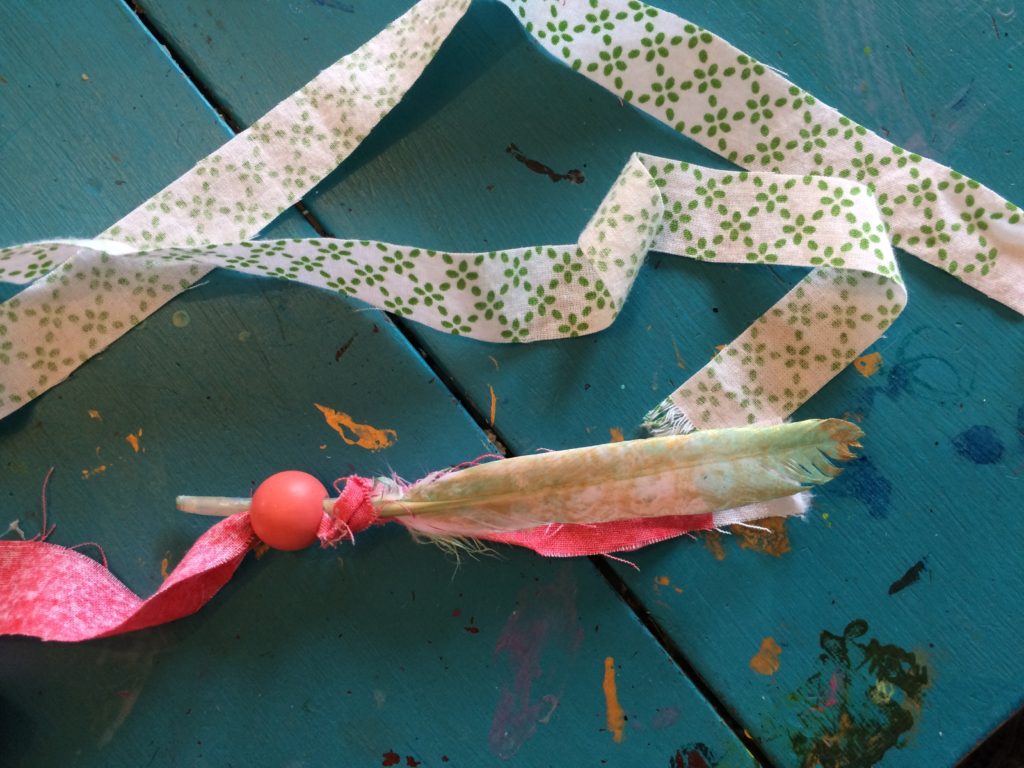
Adjust your beads and feathers to the length you like, and trim any excess fabric.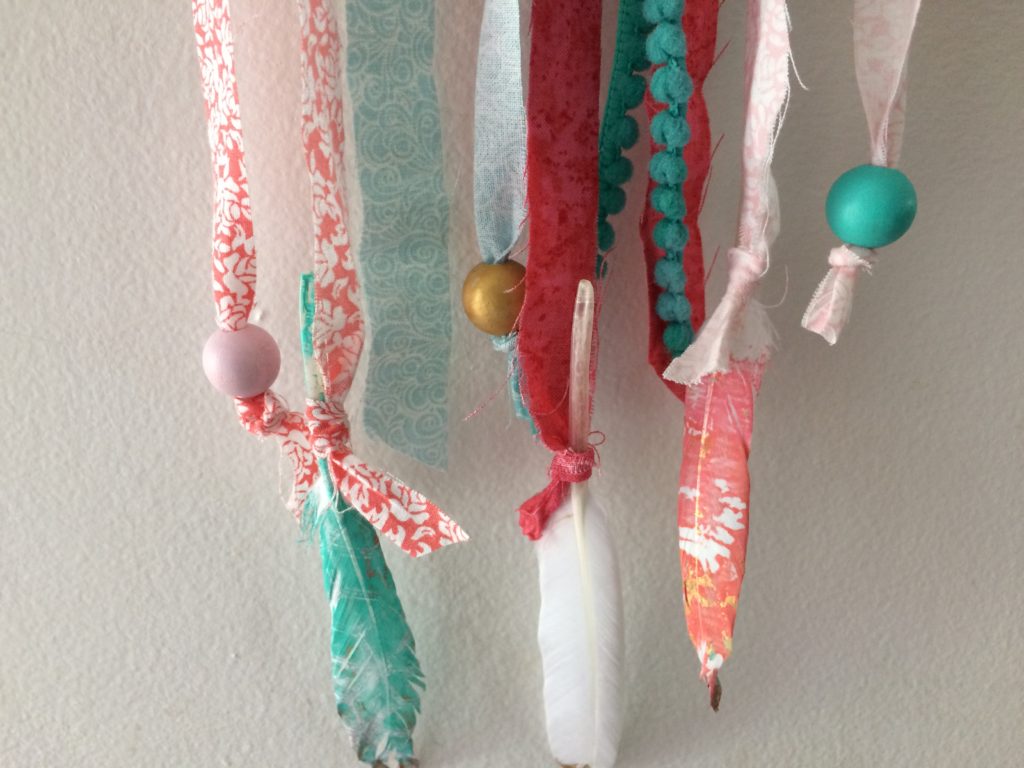
Hot glue your fabric rosettes to the edge of the dream catcher, and you are done!