
I really hate the name Dirty Pour. I have been trying to get my kids to help me come up with a better name for this technique, but so far we haven’t come up with anything clever. My art club students did this project at school several months back, and they absolutely loved it. I am pretty sure they asked me every week after that if we were going to do it again. My own kids asked to do it too as soon as they saw the ones I made in art club. So this week we finally pulled out all the supplies and did our own Dirty Pour canvases at home!
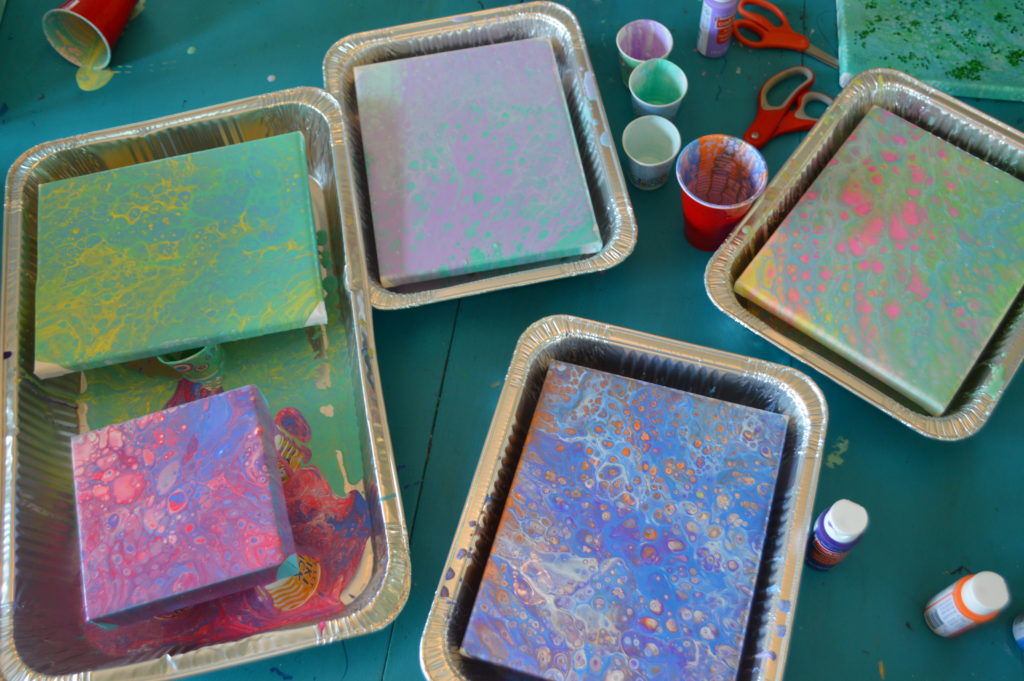
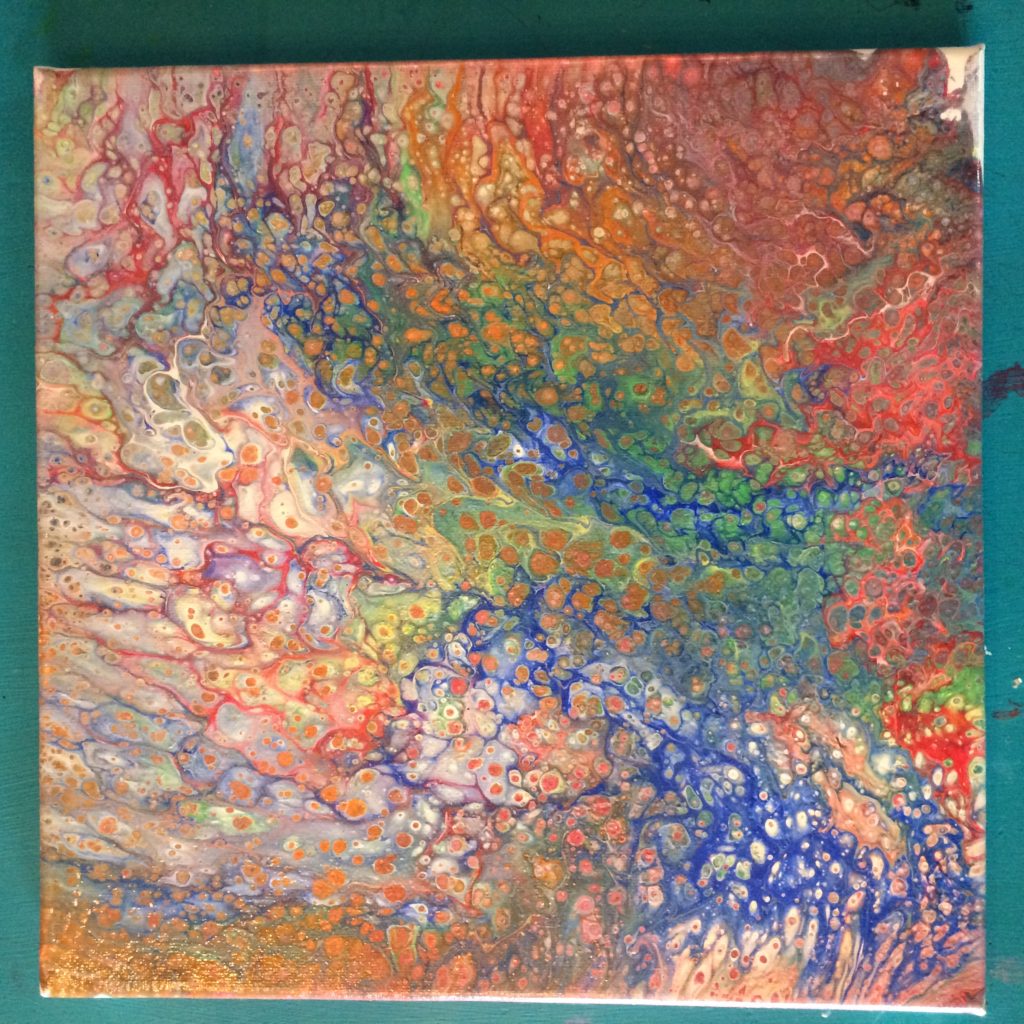
Sometimes kids struggle with art that they cannot control. This is a great project to push those kids outside their comfort zone. Even in picking colors for this project, there is no way to predetermine or control how they mix, the way they move across the canvas, or the way the cells look in the finished project. I encouraged my students to choose three or maybe four analogous colors to avoid muddied results. But it can also be fun to explore, pushing those limits a bit, and see what is possible. I used Roy G. Biv on this canvas and I love how it turned out.
There are a lot of videos and tutorials out there on Dirty Pour. I read and watched a ton to figure out the best ingredients that would be safe and easy for my students to use, and the best directions for how to do Dirty Pour painting. This is the process I used with my students and my kids at home.

Materials: (see links at bottom of post)
12 oz cups
3 oz Dixie cups
Craft sticks (we used colored ones, but I wouldn’t recommend it because the colors from the sticks bled into the paint)
Flood, flotrol
Elmer’s Glue-All (not school glue)
Silicone treadmill oil
Large disposable baking pans
8×10 canvases
Acrylic craft paint
Pipette
Directions:
1) Pour Elmer’s Glue-All into a 12 oz cup, filling it about 1/4 of the way full (if using a cup with ridges, up to the bottom ridge).
2) Add flotrol up to the top ridge or until the cup is 3/4 full; mix well with craft stick.
3) Choose three to four colors of acrylic craft paint, preferably analogous colors (colors next to each other on the color wheel like yellow, green, and blue) and not contrasting colors (like red and green). [As you can see, my 3 year old didn’t follow my color-choosing directions. :)]

4) Grab one 3 oz cup for every color you choose and pour enough paint in each cup to cover the bottom. *I also did a cup of white paint for my canvases.

5) Divide the flotrol/glue mix from the 12 oz cup evenly among the colored paint cups, putting a little more into the white paint than the colored paint cups. Mix well.

6) Use a pipette to add 3-6 drops of silicone treadmill oil into each cup and fold in gently.
7) In another 12 oz cup, layer the paints as desired with white on bottom and top.
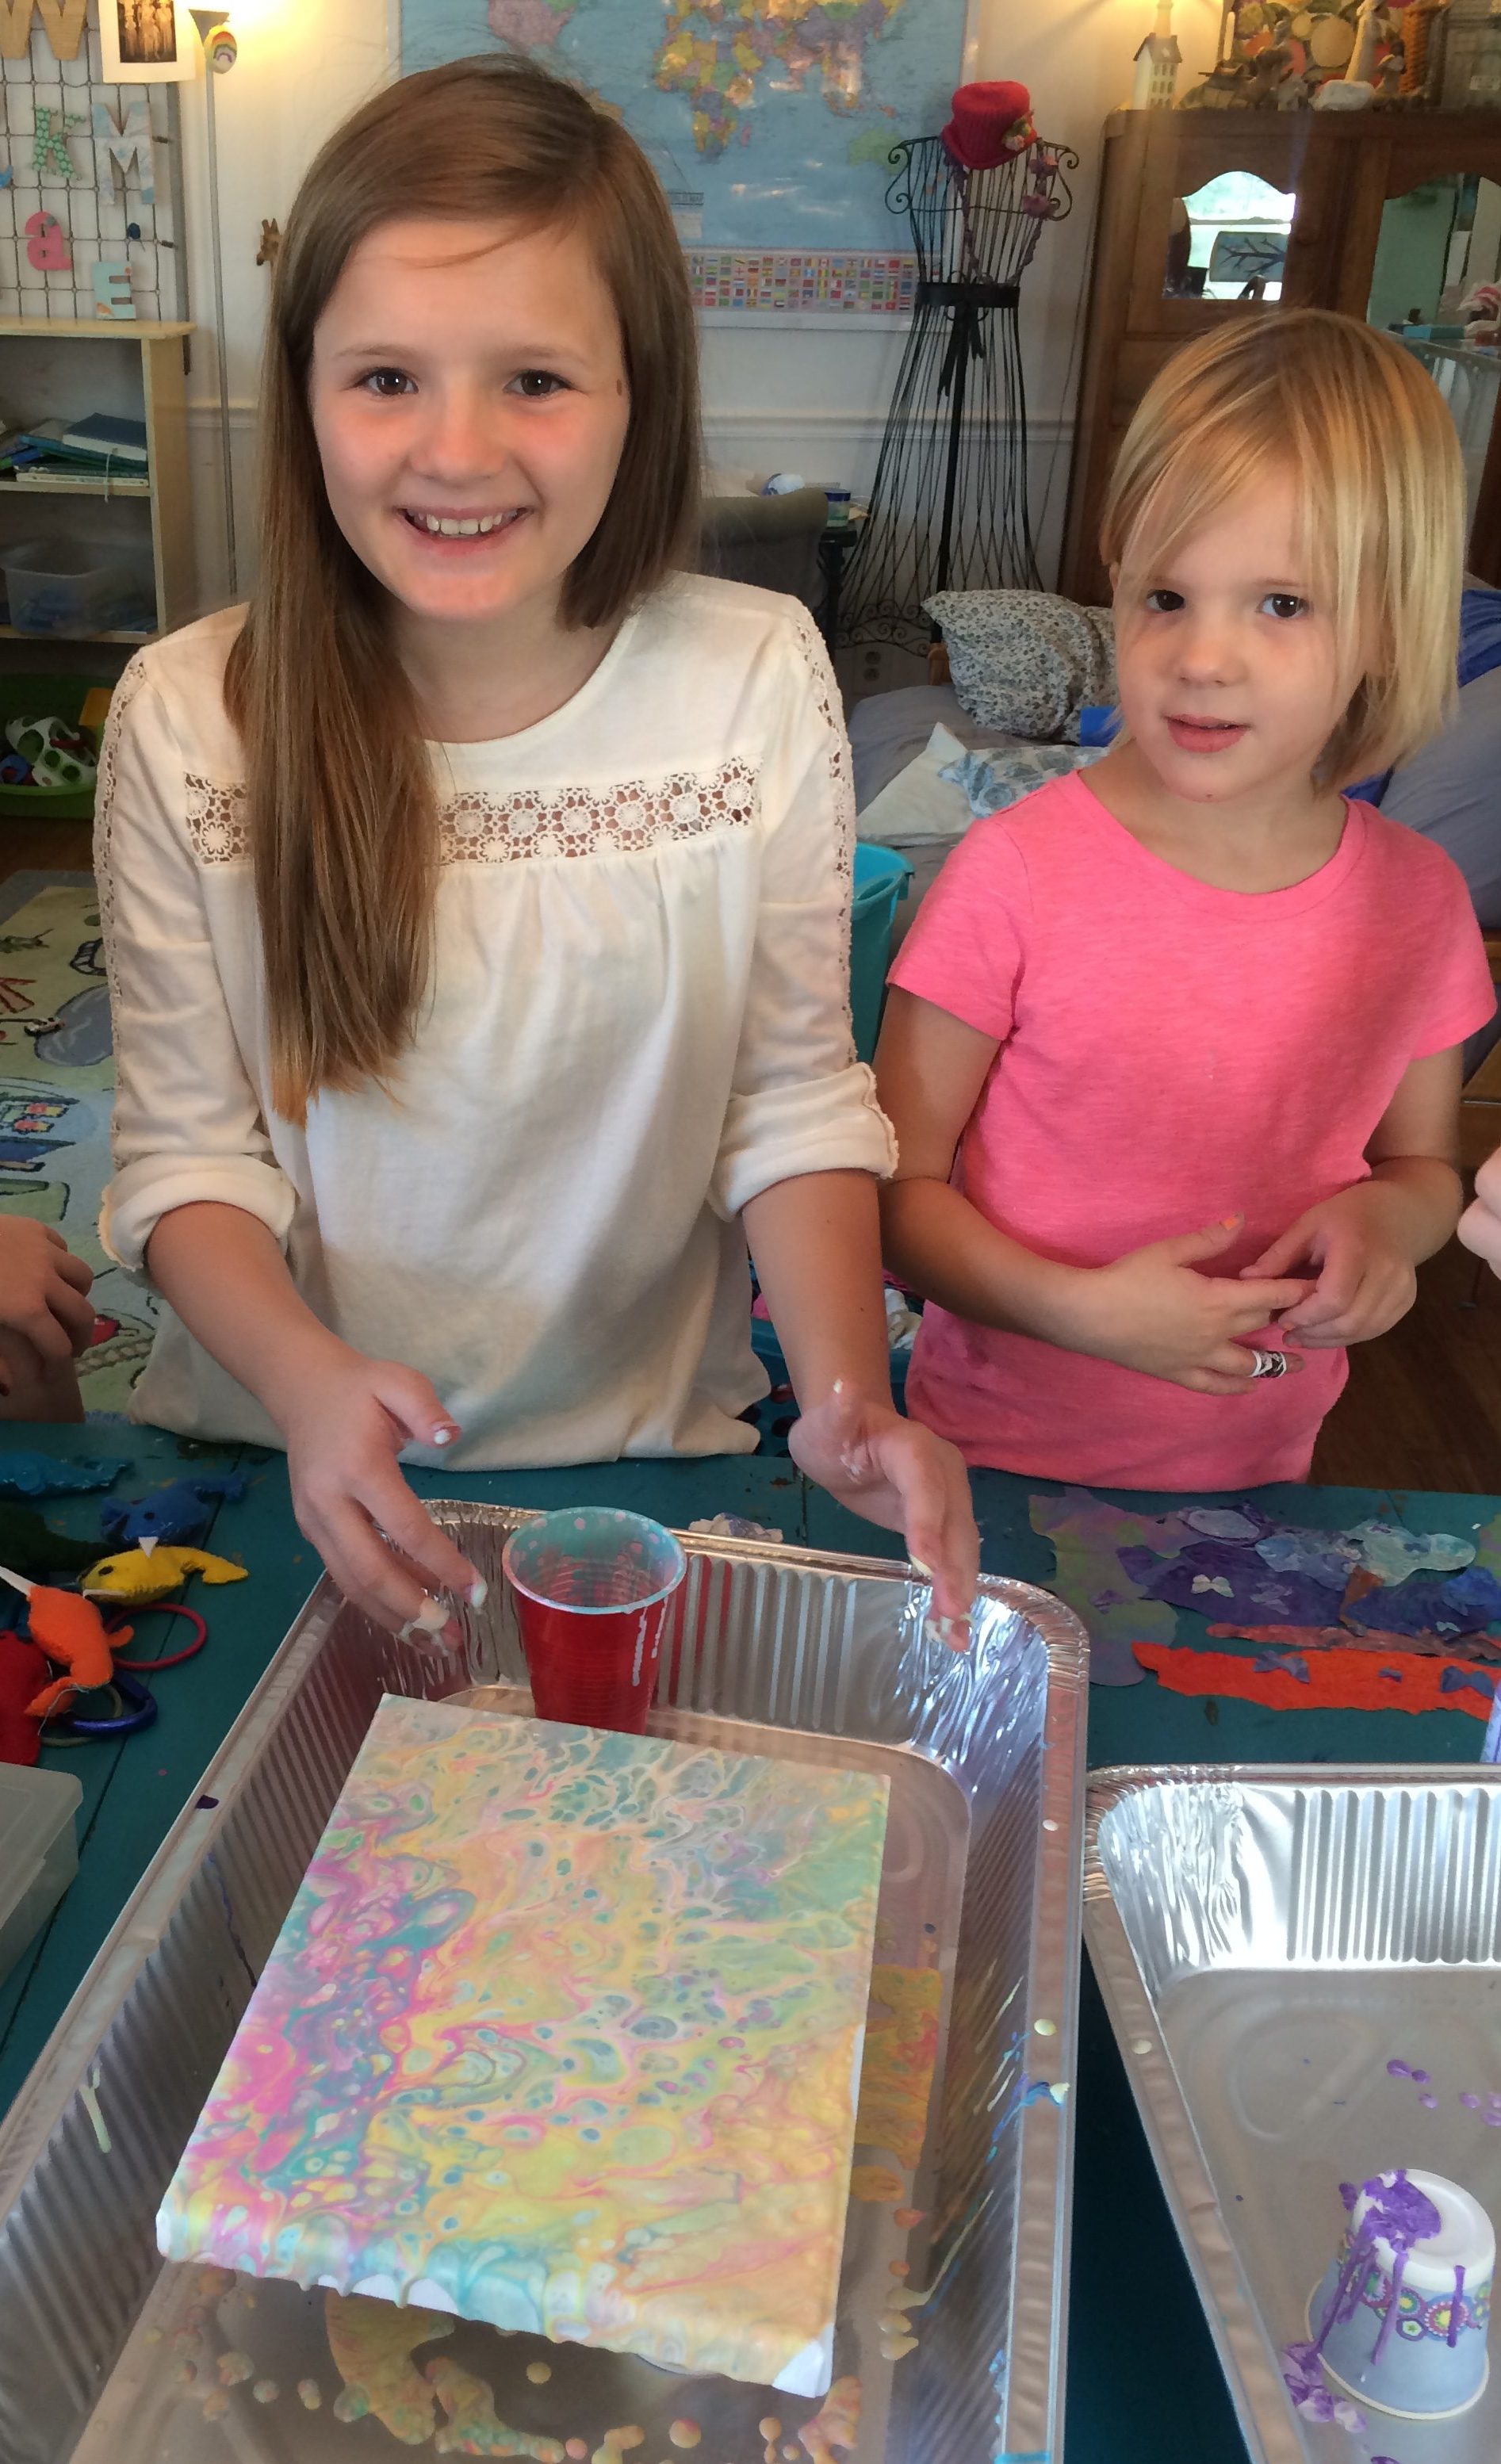
8) Set up 4 cups in a baking sheet that you can place your canvas on to dry when done.
![]()
9) Turn the canvas upside down and place on top of the cup. Carefully invert the canvas and cup, making sure not to spill the paint.
![]()
10) Set the canvas on the cups in the pan and slowly lift the inverted paint cup, allowing the paint to pour over the canvas.
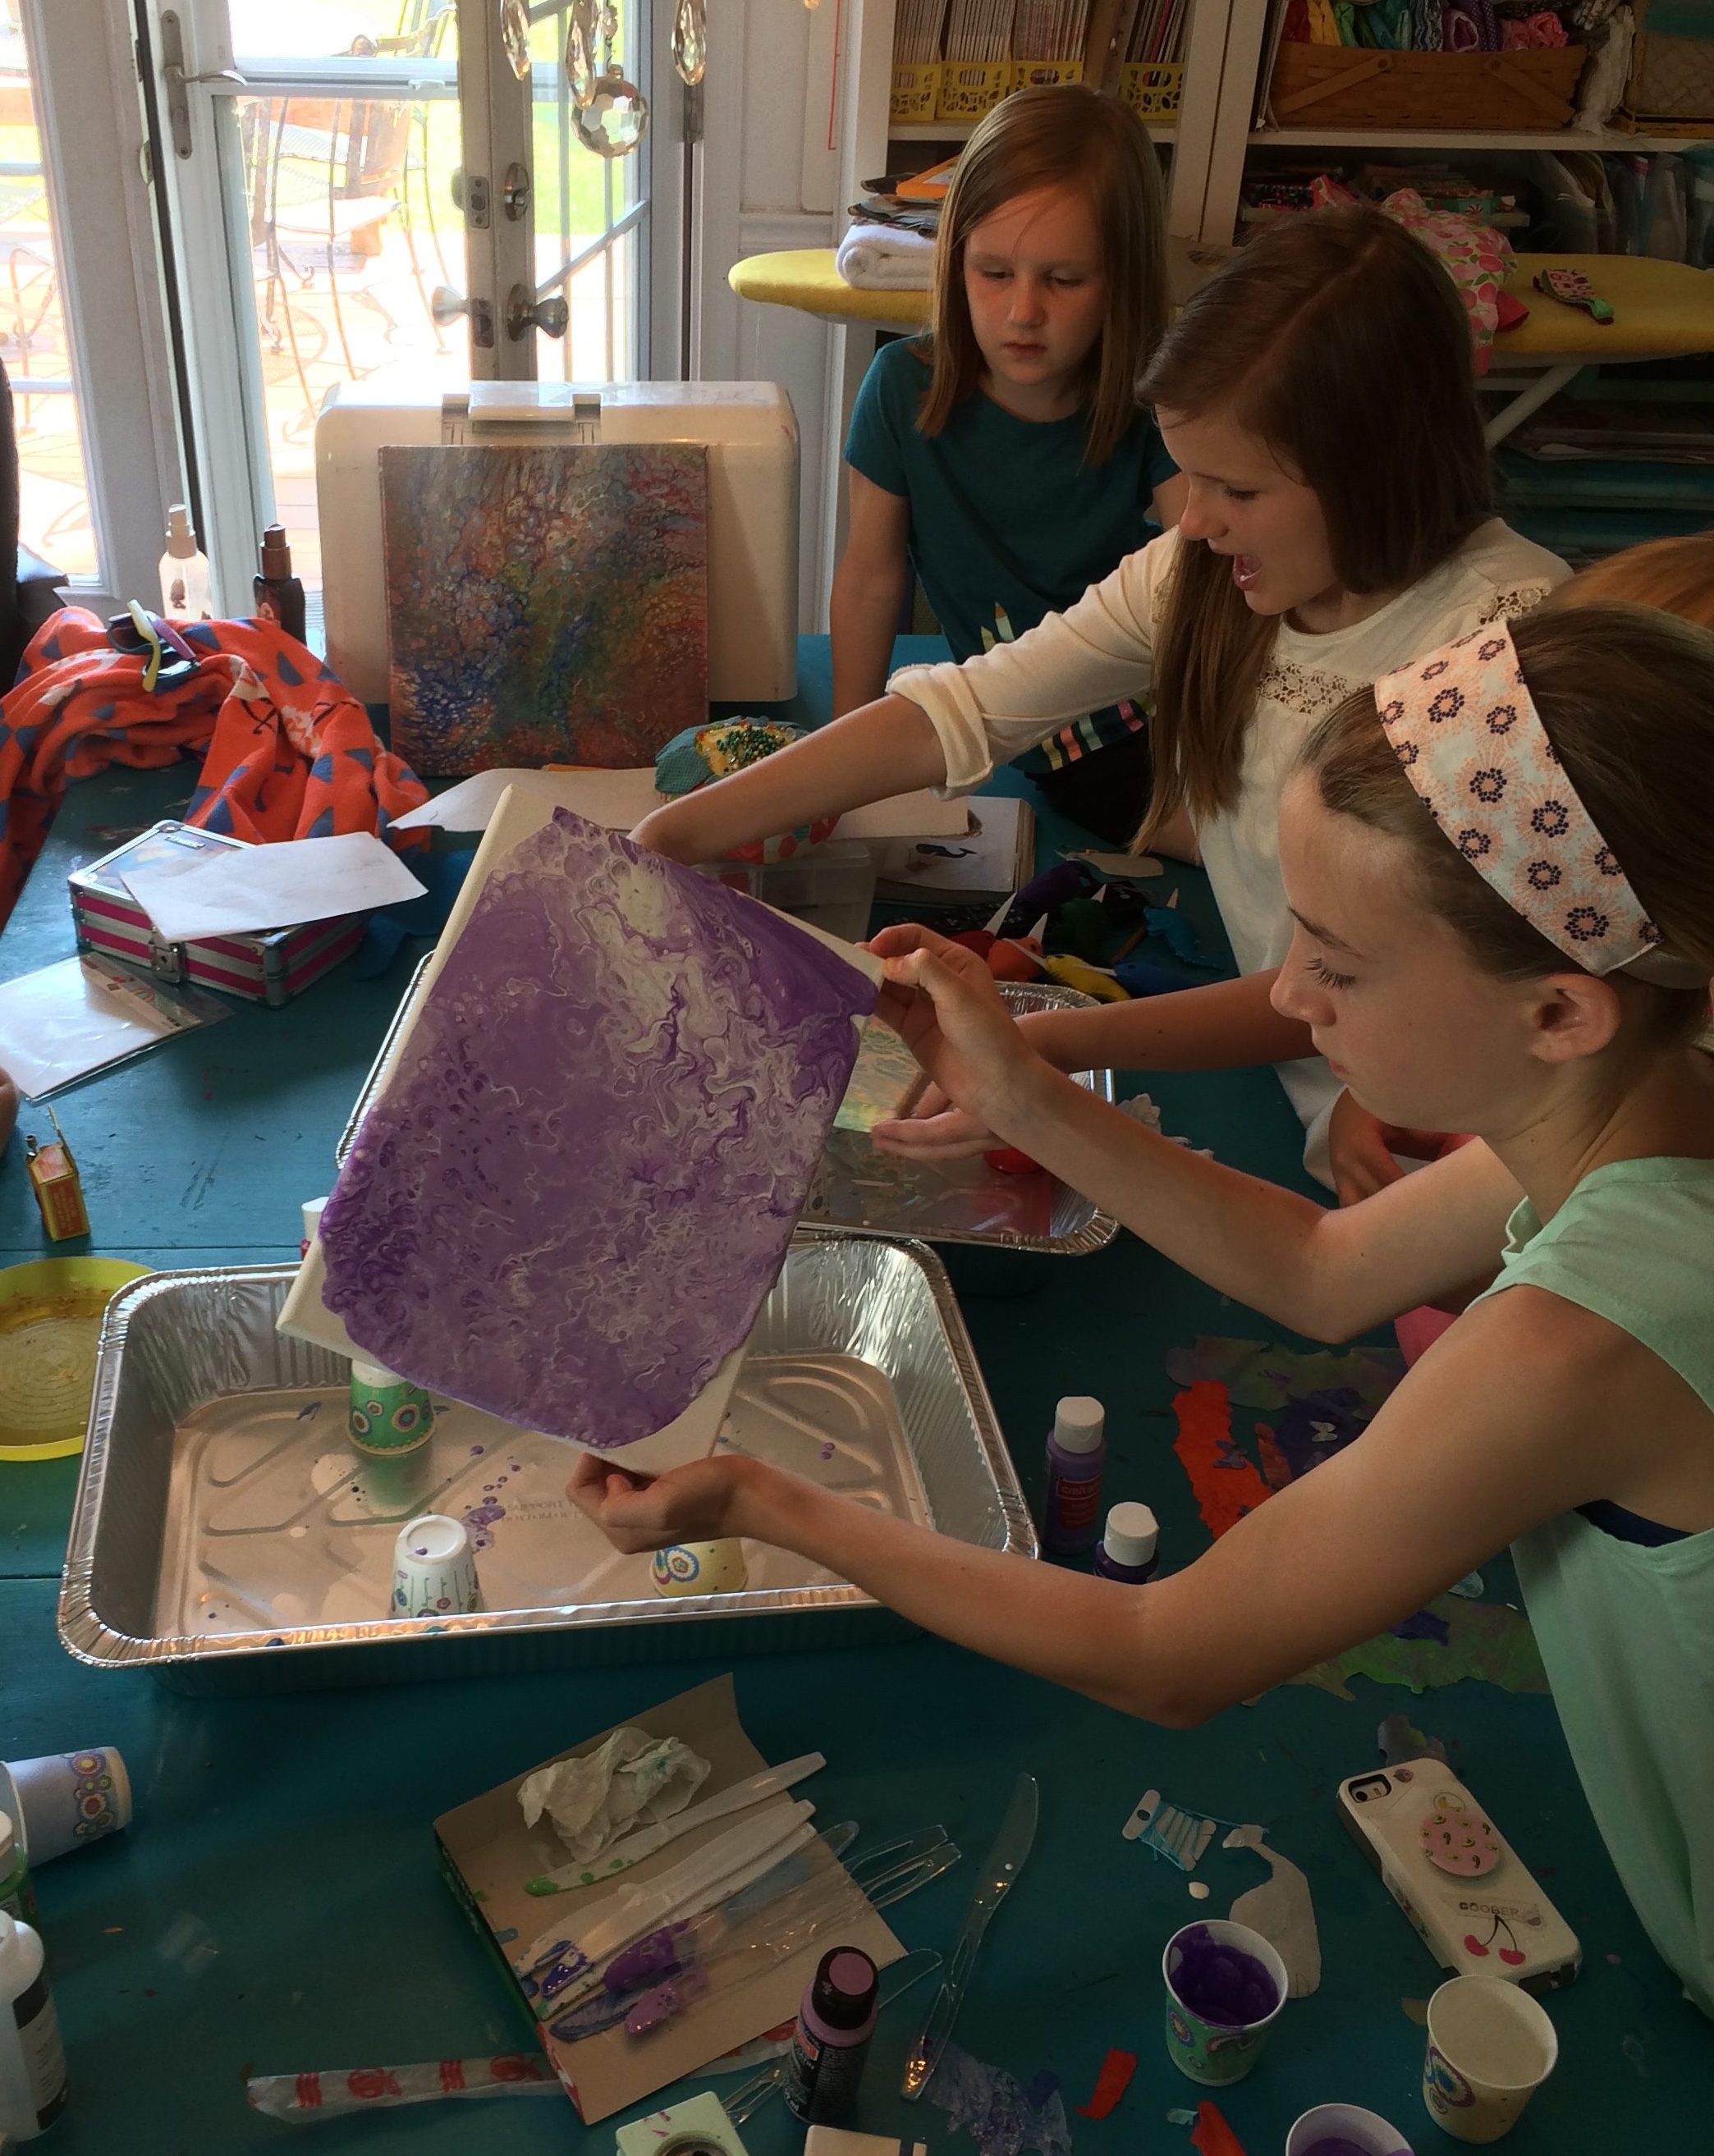
11) Slowly tilt the canvas to allow the paint to cover the whole surface and watch the magic happen!
12) (optional) Once the canvases are dry (this may take a day or more), you can spray them with something like Deco Art’s Triple Thick. I’ve used this and Rust-oleum crystal clear spray, and I liked Triple Thick better for this project.
The little bubbles in the paint are called cells, and they are created by the silicone. You can experiment with more or less oil in your mixture and see how that affects the cells. The amount of stirring you do when you add the oil will affect the size of the cells as well.


We are a participant in the Amazon Services LLC Associates Program, an affiliate advertising program designed to provide a means for us to earn fees by linking to Amazon.com and affiliated sites.