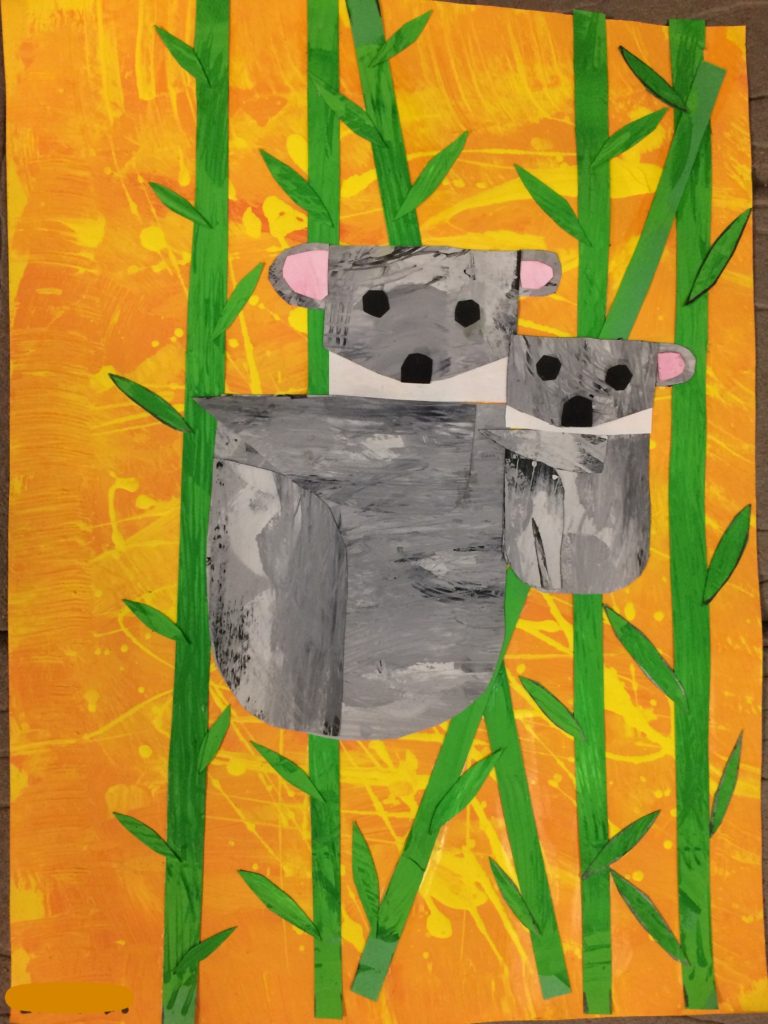
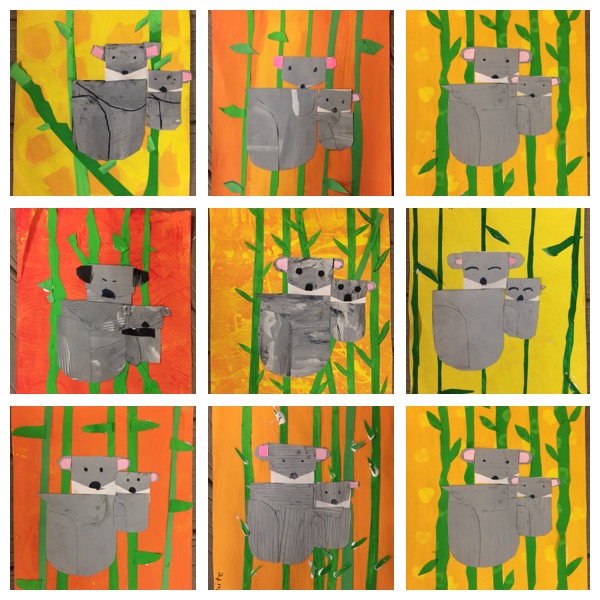
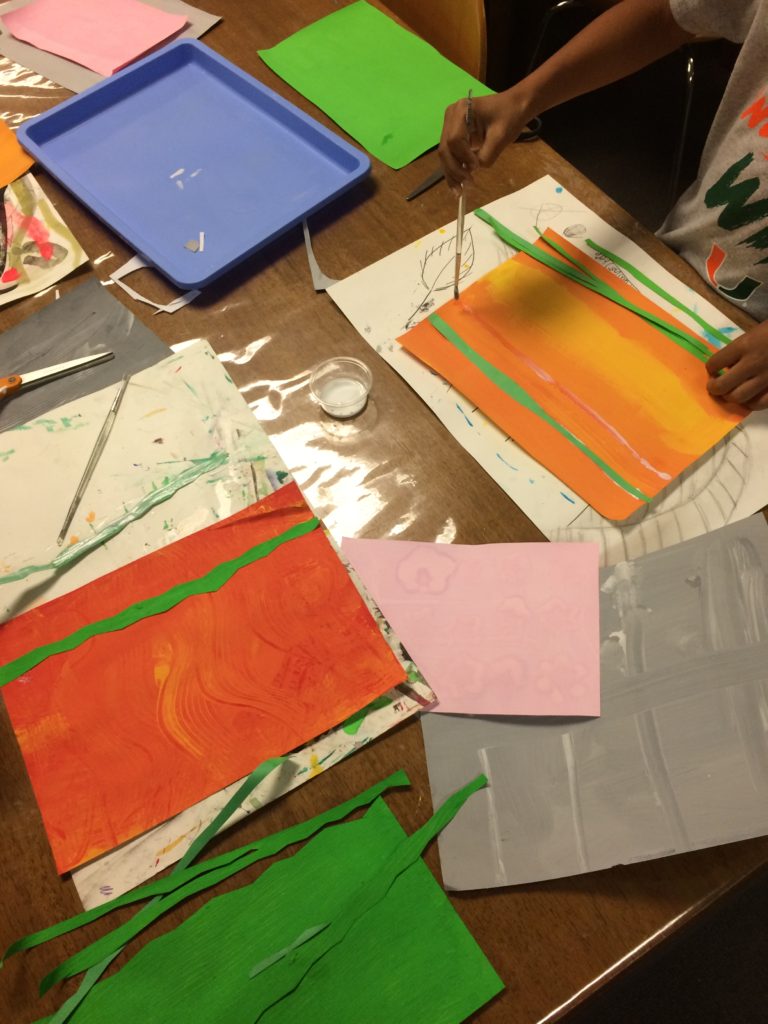
My elementary students (3rd-6th grade) just finished up these Charley Harper inspired koala collages. I am so happy with how they turned out! This project took us three weeks to complete. The first week we painted paper. I set up four stations: one with yellows and oranges for the background, one with greens for the bamboo, one with greys for the Koala, and one with pinks for the ears. Each student painted one 9 x 12 piece of paper at each station.
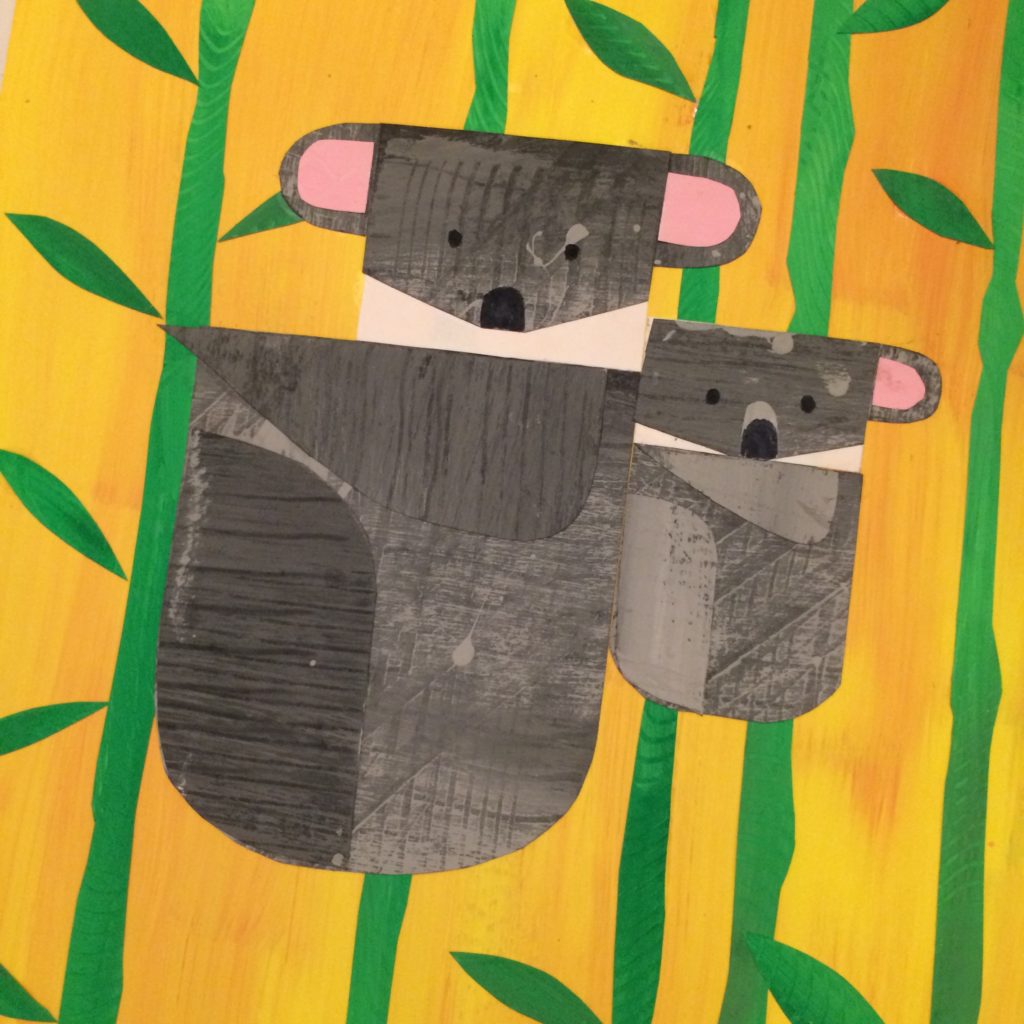
Week 2 we started by cutting 4-6 strips of bamboo about 1/4″- 1/2″ thick. I had the students glue one strip of bamboo about 2″ from the left side of the paper (this is the piece of bamboo that the mama koala is holding on to), and then they could glue the rest of the bamboo wherever they chose.
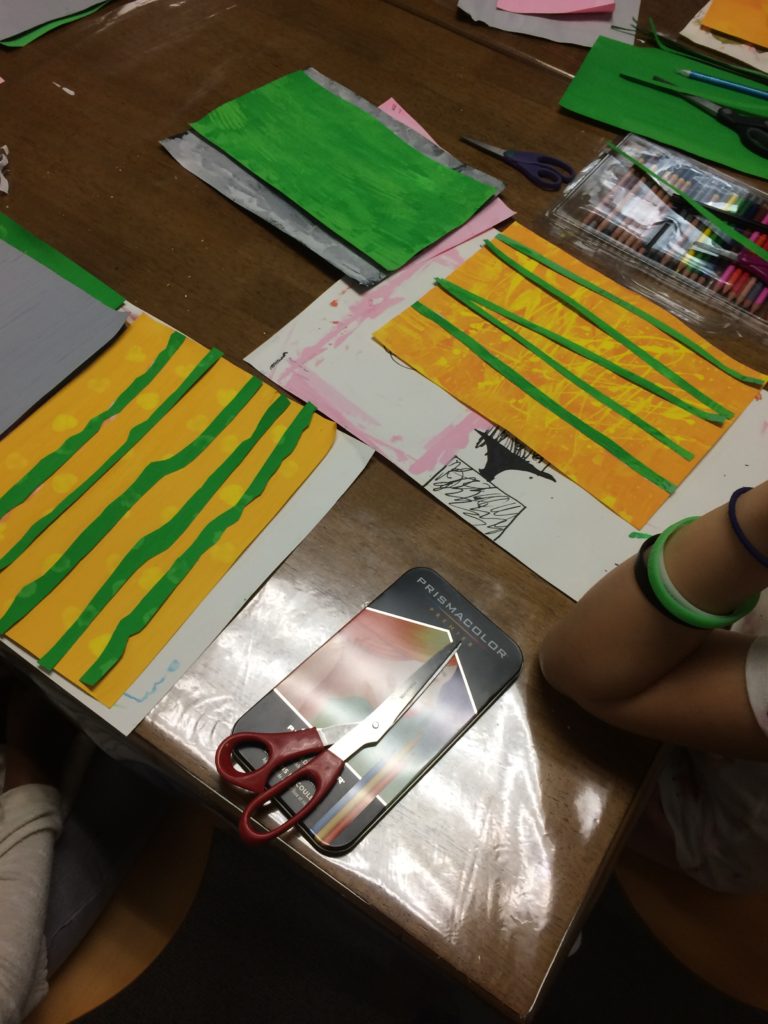
Once they had their bamboo glued down, they used this Charley Harper Koala Template to cut out their koalas. Instead of taking the time to cut out the patterns exactly, I had the kids cut loosely around the pattern piece and then hold it on top of the painted paper, and cut the pattern and the painted paper at the same time.
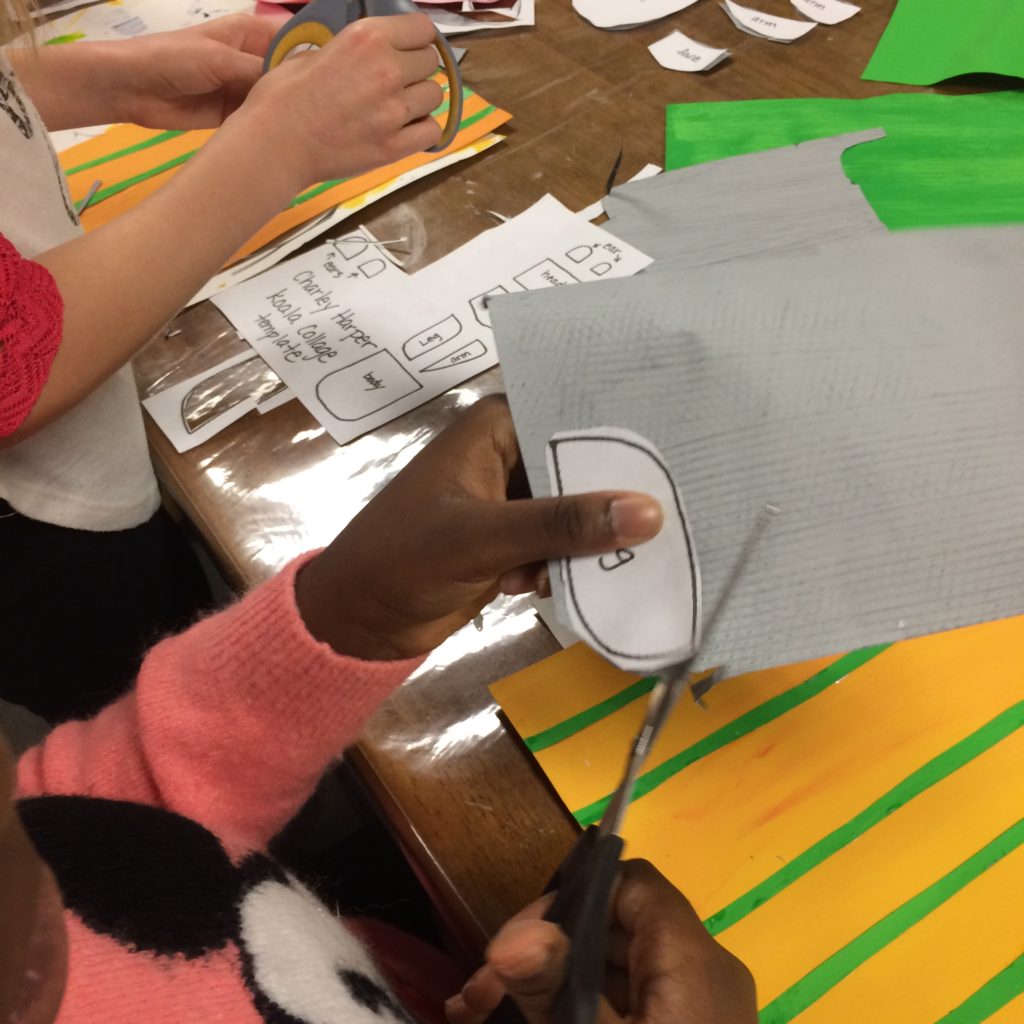
We cut out the mama first, and when we had all her parts cut out we decided where we wanted to place her and glued her down. The kids definitely needed some direction here, especially when it came to putting the head on. They really wanted to place the head right in the middle of the body and not all the way to the right. I had a few accidentally cut both the head and the face pieces our of gray.
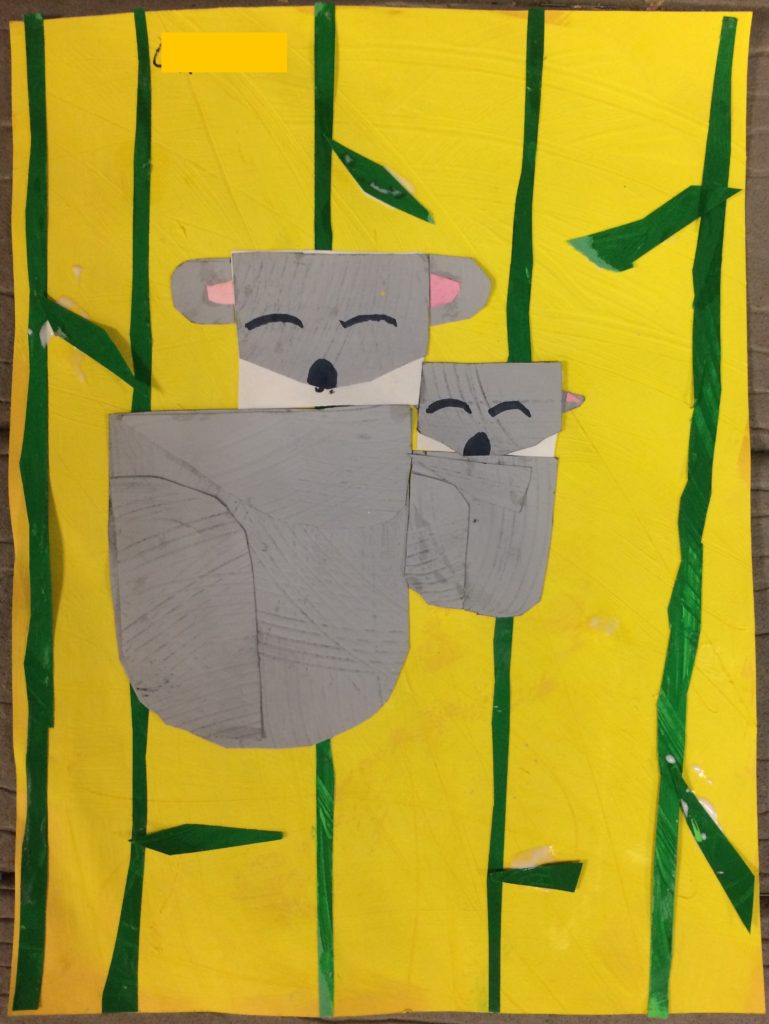
Once the mama was glued down, we moved on to the baby. By this point they had the hang of it and the rest of the project went pretty quickly. I would recommend gluing the baby’s head before the body so they don’t put the baby so high it covers the mama’s ear.
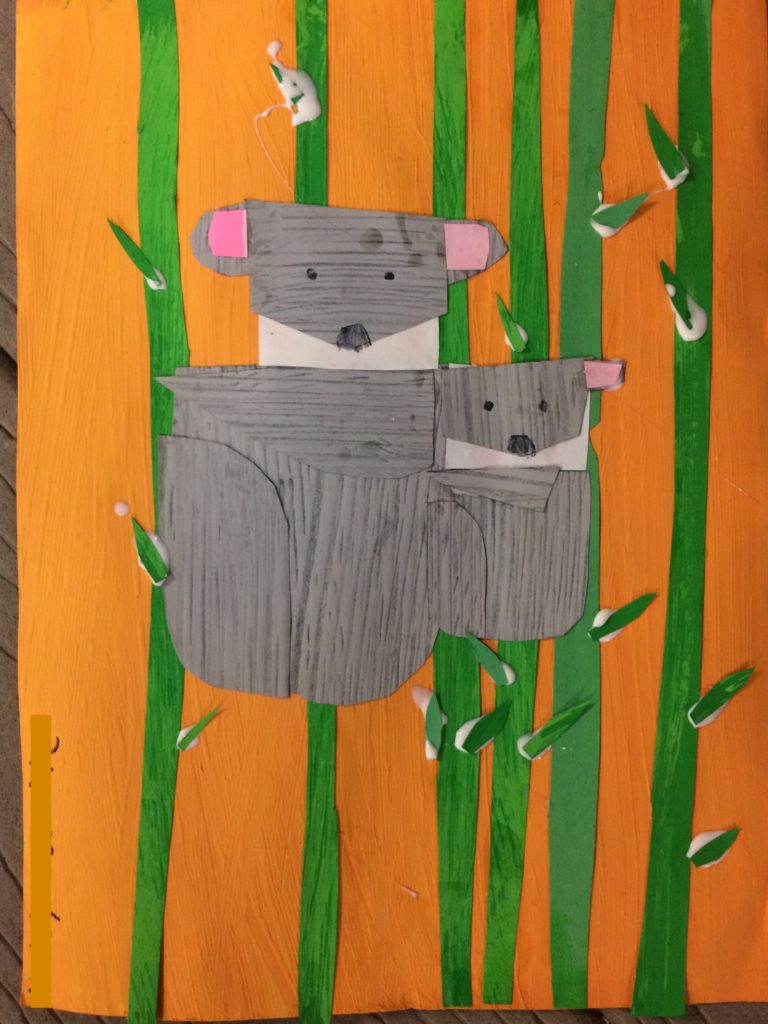
We used markers to draw the nose and eyes, and some of the kids whose grays were uniform used the marker to outline the legs and arms of the koala.
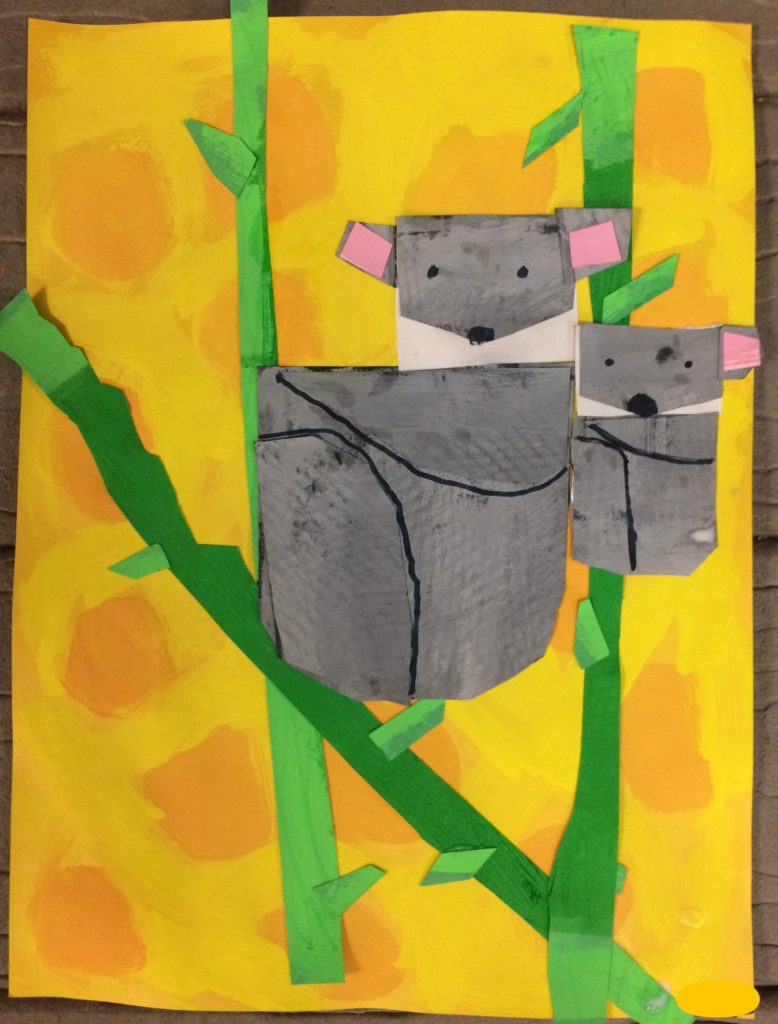
The last step was to cut our leaves for the bamboo. Some kids were more detailed on this step than others, but I think they all turned out great!
